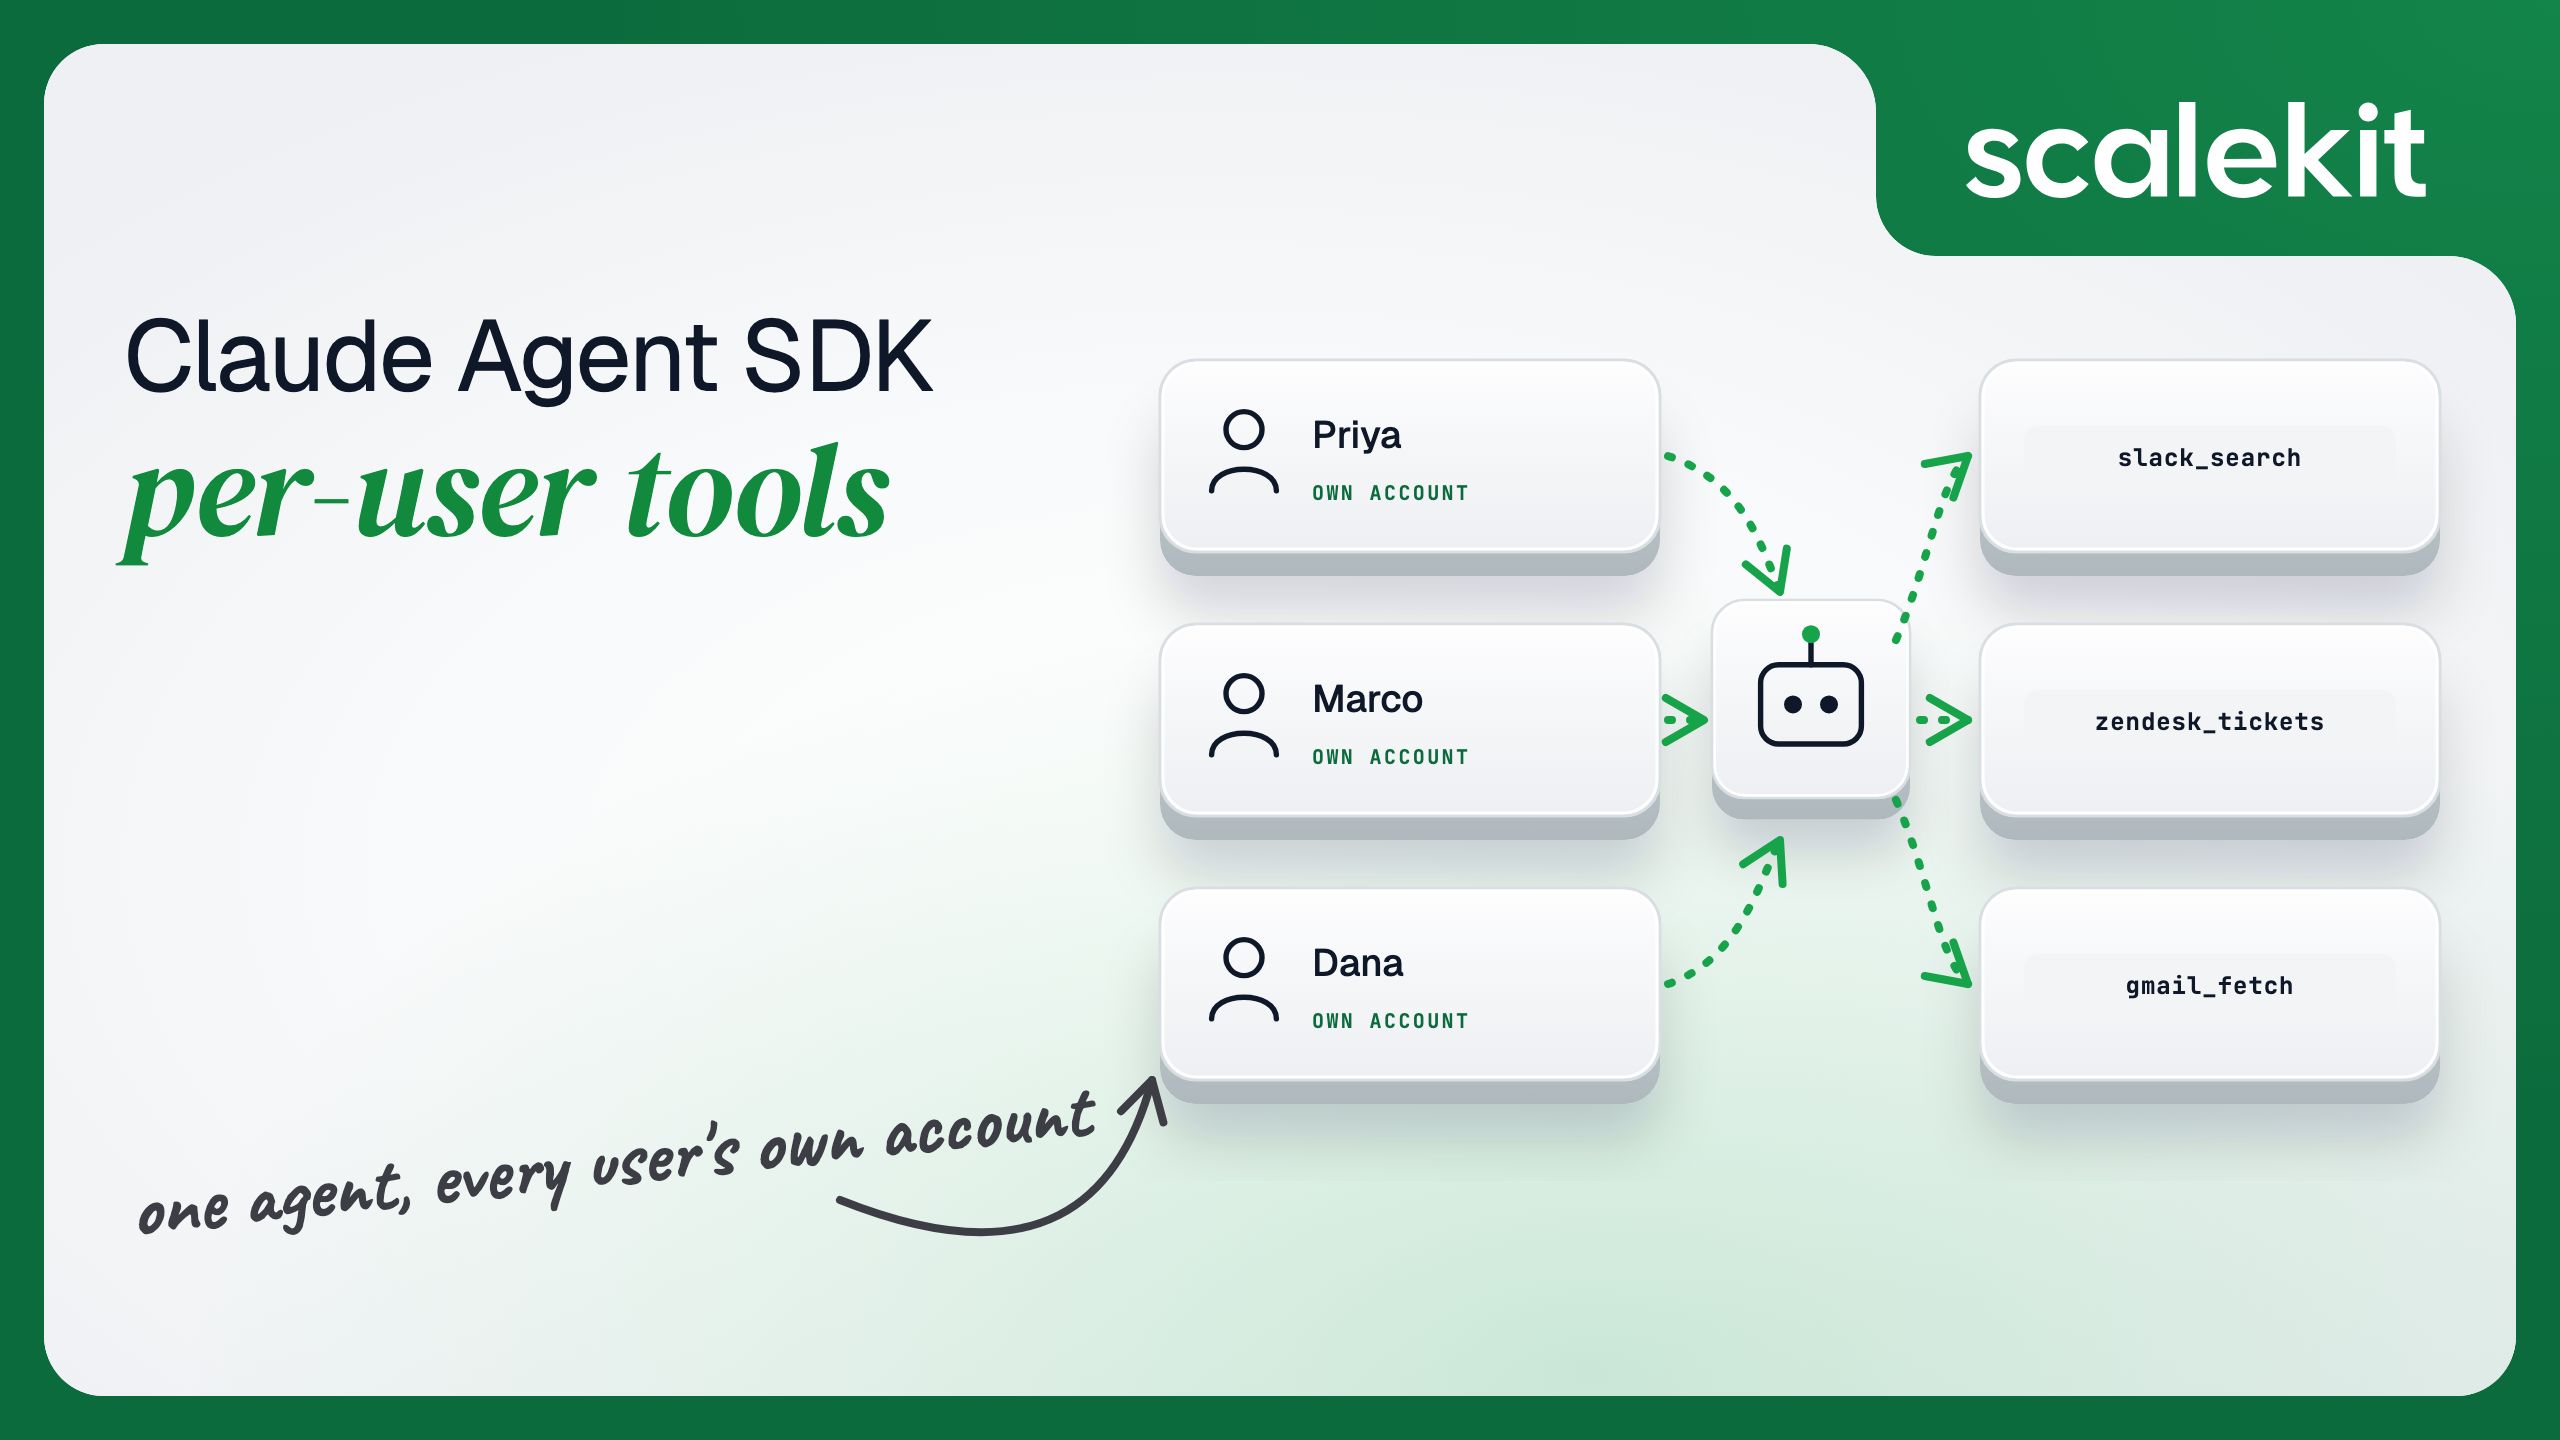
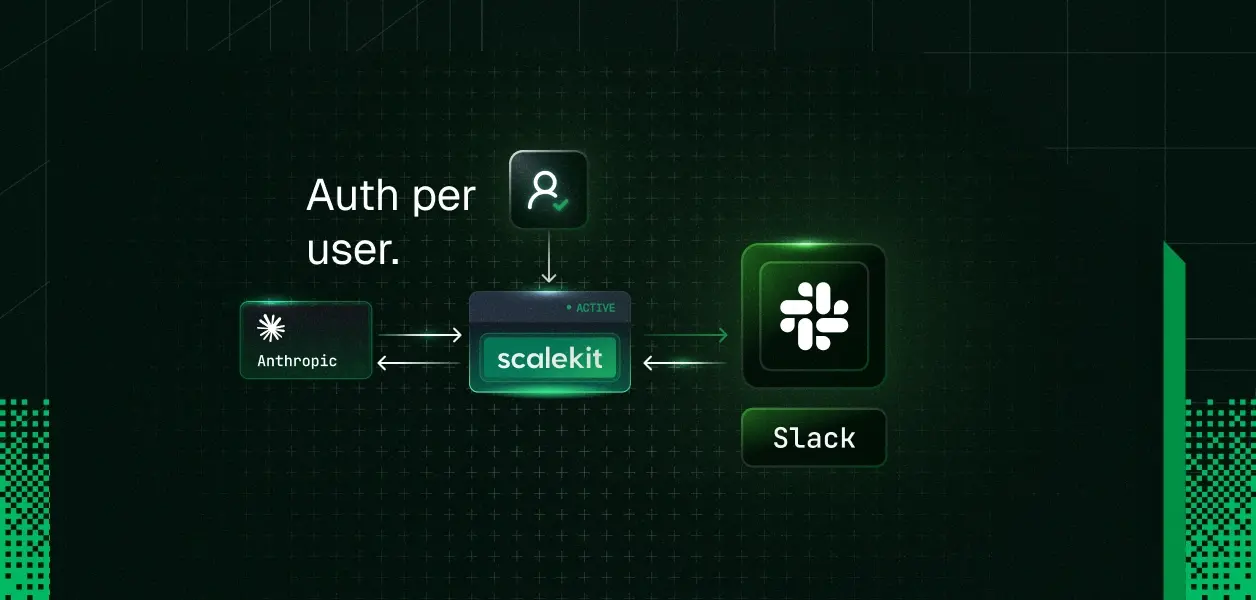
Agent frameworks explain how a model calls a tool, but they rarely say whose account the tool touches. A support agent that searches Slack for one teammate and files Zendesk tickets for another needs a different credential on every call. A single shared bot token fails that test, because it gives every user the permissions of whoever installed it.
Scalekit is the tool calling layer we built for this part of an agent tool calling platform. It holds one connected account per user and runs each call under that user's identity. This page starts with what the Claude Agent SDK covers, before getting into two patterns for per-user credentials, the first-run connect flow, per-tool limits, and a directory of every working recipe.
TL;DR
The Claude Agent SDK runs the agent loop and calls tools, leaving your application to decide which credentials a tool uses.
Giving each user a connected account in Scalekit lets one agent act for every user without shared tokens.
Pattern A wraps executeTool in custom tools built for the current user, which suits a handful of tools you want to shape yourself.
Pattern B points the SDK at a virtual MCP server with a per-user session token, which suits larger tool sets and role-based limits.
Seventeen recipe posts below show working per-user agents for apps from Slack and Zendesk to Attio and ZoomInfo.
What Does the Claude Agent SDK Handle Versus Leave to Your App?
The Claude Agent SDK packages the agent loop behind Claude Code as a library for Python and TypeScript. It ships built-in tools, hooks, subagents, MCP support, permissions, and sessions. The table below splits the work between the SDK and your application, because the split decides where per-user credentials have to live.
Concern
The SDK handles
Your application handles
Agent loop
Planning, tool calls, deciding when a task is done
Which prompt and which user starts a run
Tool execution
Calling built-in, custom, and MCP tools
What each tool does and under whose account
Permissions
allowedTools rules and the canUseTool callback
Deciding which tools a given user may have at all
MCP connections
Connecting servers over stdio, HTTP and SSE
The token placed in each server's headers
User credentials
Nothing
One connected account per user, refresh, revocation, audit
When a remote server needs authorization, you complete the flow in your own app and pass the resulting access token in the server's headers.
The same page shows headers read from an environment variable, which gives every run the same identity.
Two details of the SDK shape the patterns that follow:
Custom tools run in-process inside your application, so their handlers can close over the signed-in user.
Server configuration is plain data passed to query(), so you can build it fresh for each request with that user's token.
Both patterns below rely on building options per user, per run.
How Does Pattern A Run Custom Tools as the Current User?
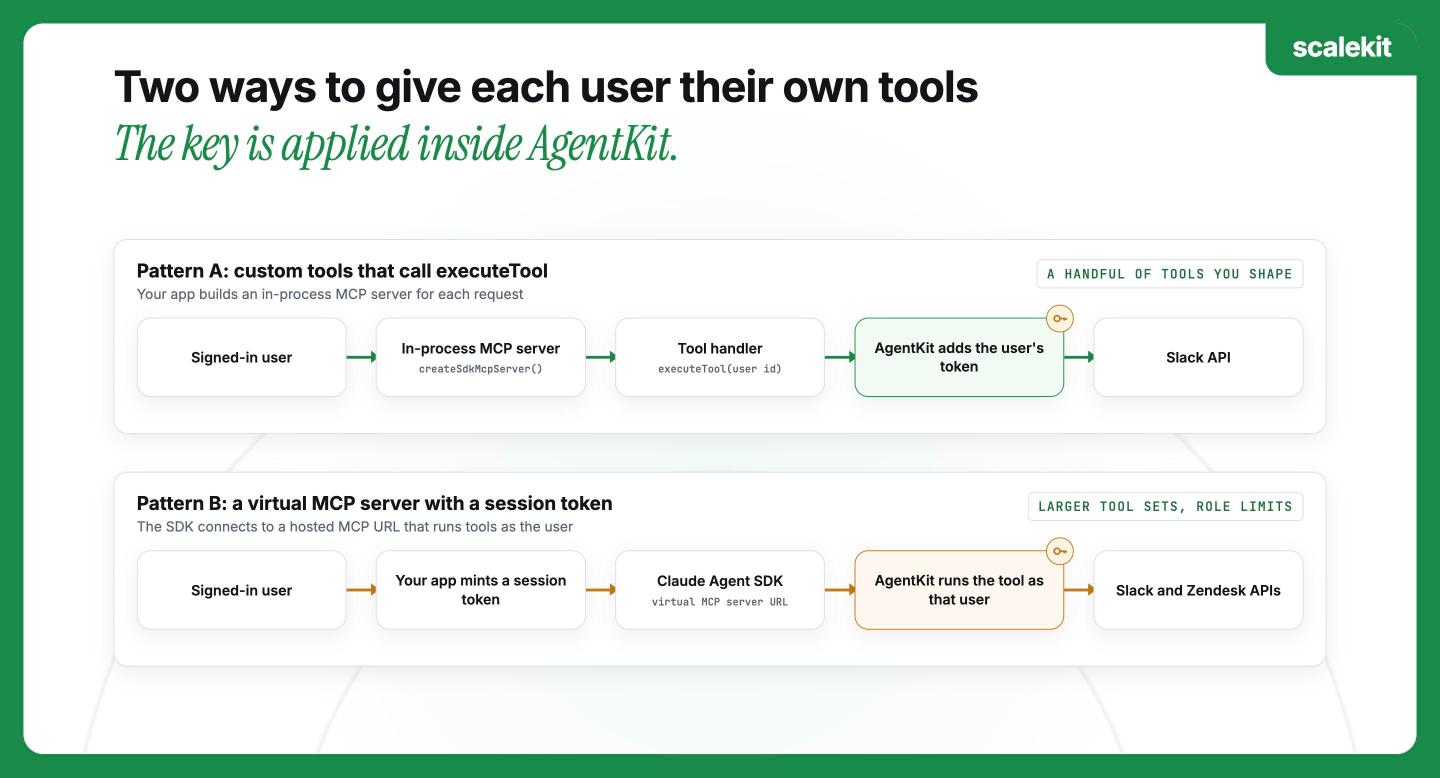
Pattern A builds an in-process MCP server for each request, and every tool handler calls AgentKit with the signed-in user's identifier.
AgentKit looks up that user's connected account, injects the stored credential, and makes the API call.
The handler returns only the result, so the model and your code never see a token.
The SDK's tool() and createSdkMcpServer() helpers build the server, and every AgentKit call goes through executeTool.
import { query, tool, createSdkMcpServer } from "@anthropic-ai/claude-agent-sdk";
import { ScalekitClient } from "@scalekit-sdk/node";
import { z } from "zod";
const scalekit = new ScalekitClient(
process.env.SCALEKIT_ENVIRONMENT_URL!,
process.env.SCALEKIT_CLIENT_ID!,
process.env.SCALEKIT_CLIENT_SECRET!
);
// Build a fresh server per request so every handler closes over one user.
function slackToolsFor(userId: string) {
const searchMessages = tool(
"search_messages",
"Search Slack messages the signed-in user can see",
{ query: z.string().describe("Slack search query") },
async (args) => {
const result = await scalekit.actions.executeTool({
toolName: "slack_search_messages", // use the tool name that listScopedTools returns
identifier: userId,
connector: "slack",
toolInput: args,
});
return { content: [{ type: "text", text: JSON.stringify(result.data) }] };
},
{ annotations: { readOnlyHint: true } }
);
return createSdkMcpServer({ name: "slack", version: "1.0.0", tools: [searchMessages] });
}
export async function runAgentFor(userId: string, prompt: string) {
for await (const message of query({
prompt,
options: {
mcpServers: { slack: slackToolsFor(userId) },
allowedTools: ["mcp__slack__search_messages"],
},
})) {
if (message.type === "result" && message.subtype === "success") return message.result;
}
}
Three details make this safe across users:
The server is created inside slackToolsFor, so no handler can reach another user's identifier.
The allowedTools entry uses the mcp__{server}__{tool} naming rule that the SDK applies to MCP tools.
The readOnlyHint annotation lets Claude run this tool in parallel with other read-only calls.
Pattern A fits a short list of tools you want to name, describe, and validate yourself. Each tool needs a hand-written schema, since TypeScript tool() takes a Zod shape. To expose dozens of connector tools without writing schemas, use Pattern B.
How Does Pattern B Use a Virtual MCP Server With a Session Token?
Pattern B moves the tool list out of your code.
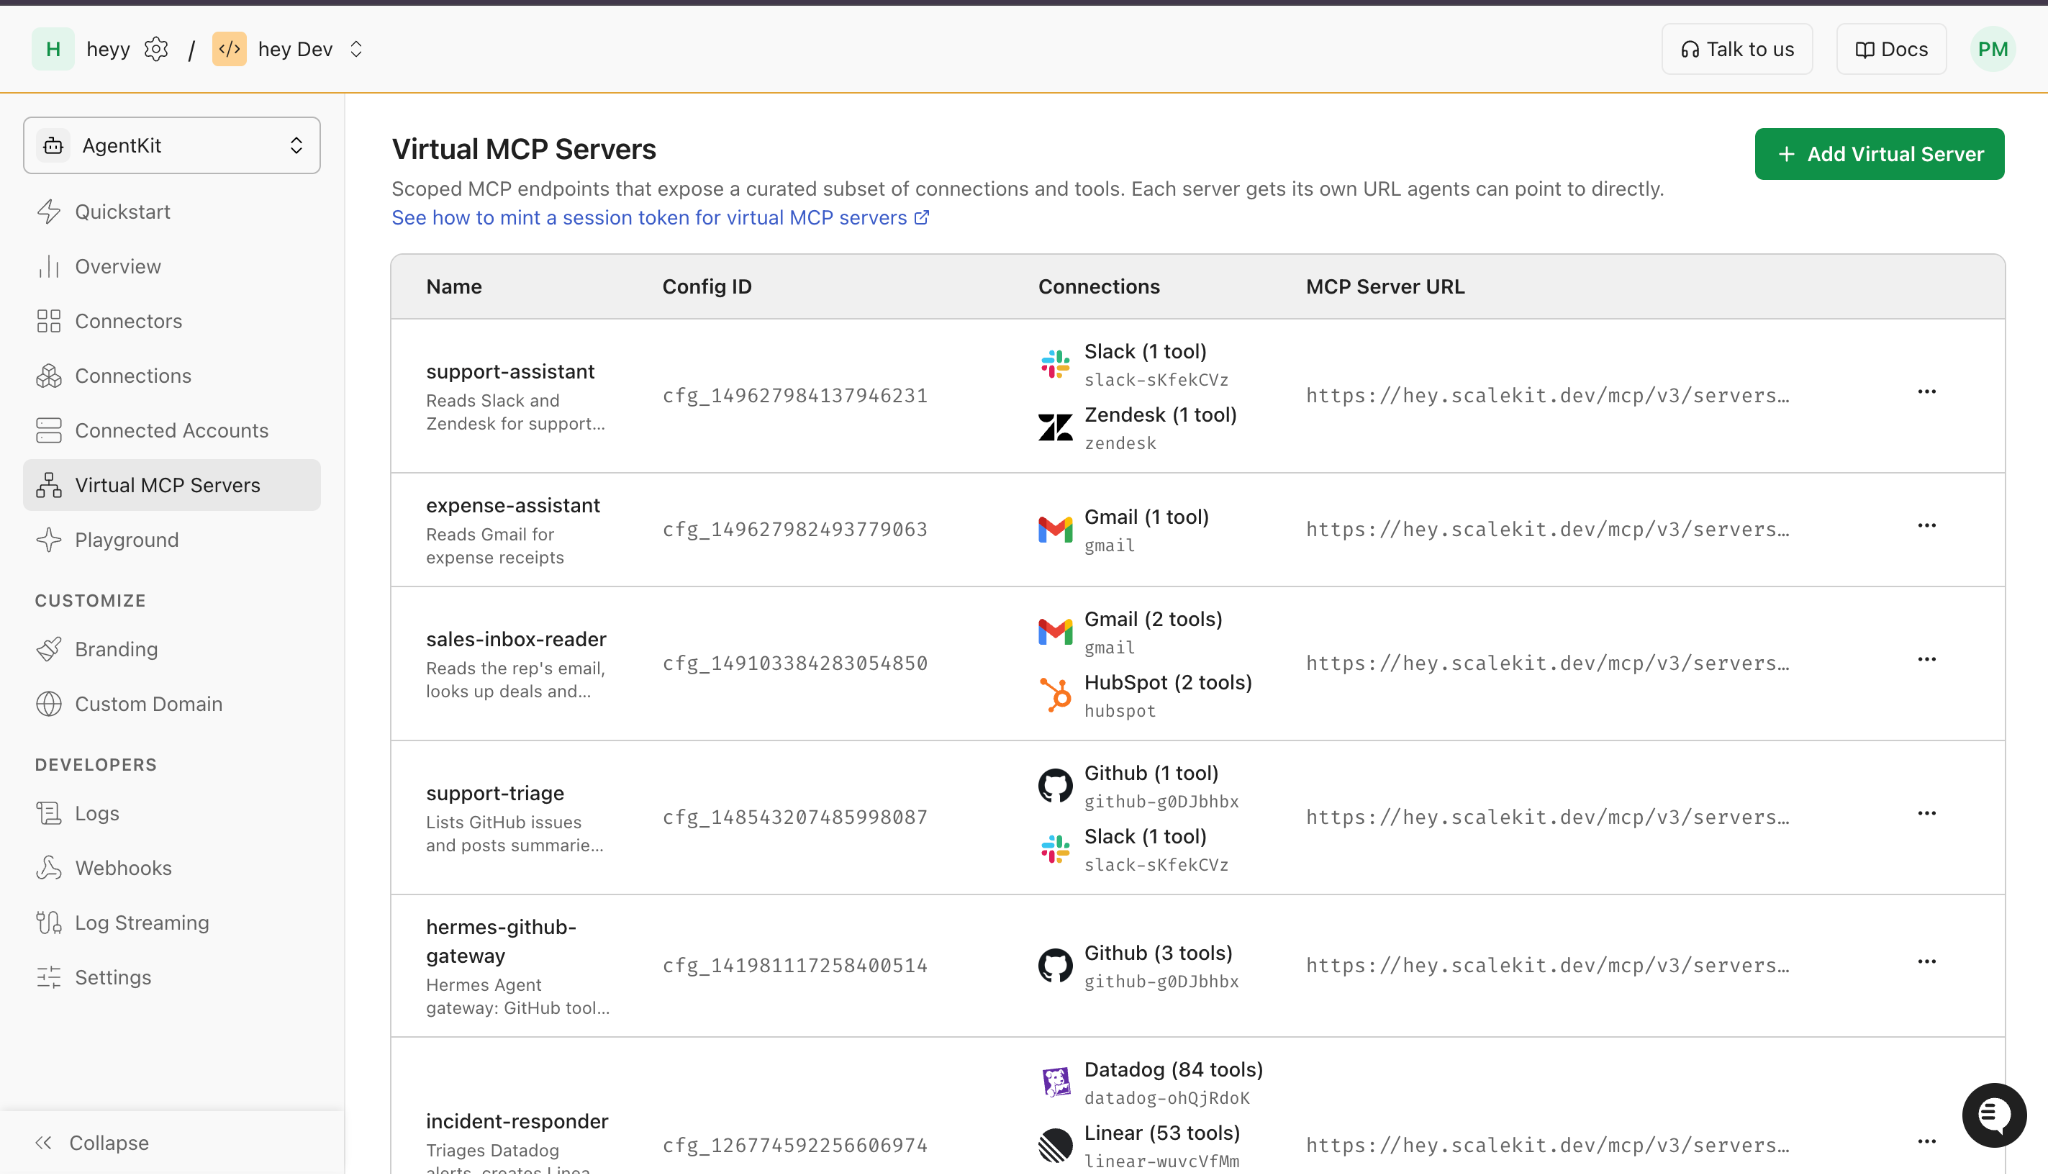
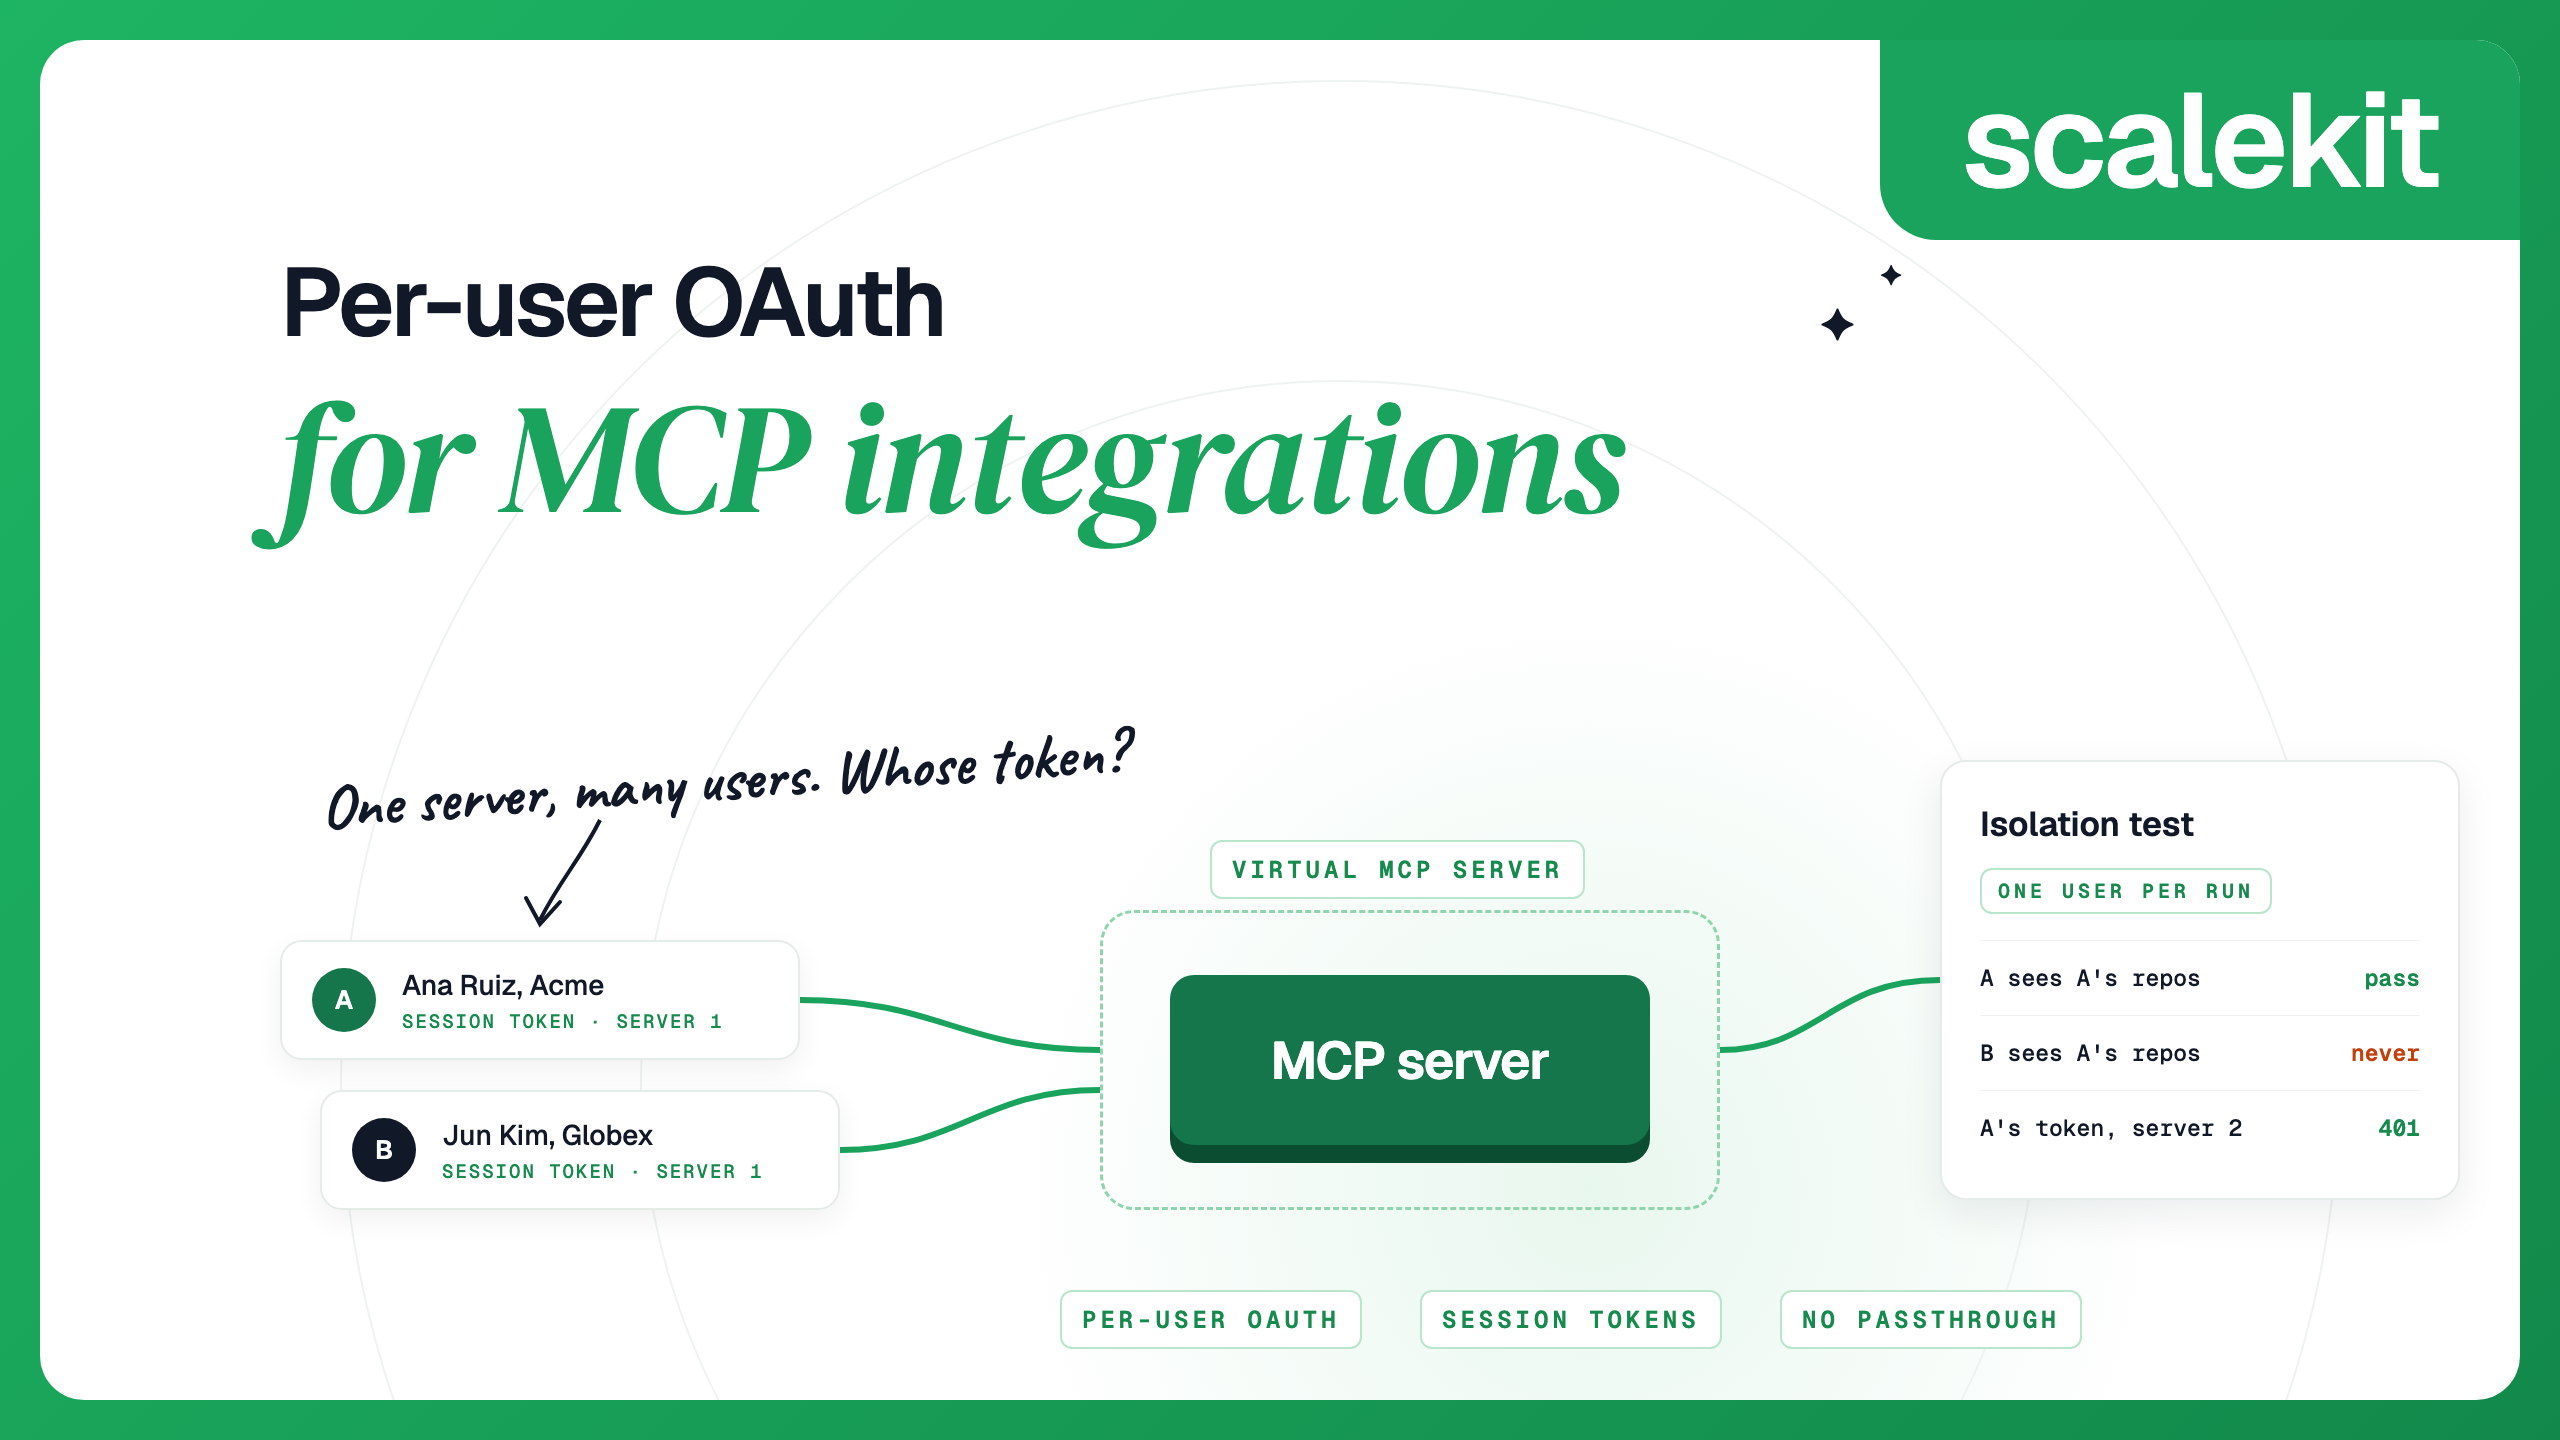
A virtual MCP server is one URL that exposes a chosen set of connector tools, created once per agent role and shared by all users.
Before each run, you mint a session token for one user, and the Claude Agent SDK connects to the URL as a remote HTTP server.
Every call runs as that user, and tools from apps the user has not connected stay unusable until they do.
// One-time setup: create the server for a role.
const { config } = await scalekit.actions.mcp.createConfig({
name: "support-assistant",
description: "Slack and Zendesk tools for the support team",
connectionToolMappings: [
{ connectionName: "slack", tools: ["slack_search_messages"] },
{ connectionName: "zendesk", tools: ["zendesk_search_tickets"] }, // use the tool names shown in your dashboard
],
});
// Save config!.id and config!.mcpServerUrl.
// Per run: mint a short-lived token for the signed-in user.
export async function runAgentFor(userId: string, prompt: string) {
const session = await scalekit.actions.mcp.createSessionToken({
mcpConfigId: process.env.MCP_CONFIG_ID!,
identifier: userId,
expirySeconds: 900,
});
for await (const message of query({
prompt,
options: {
mcpServers: {
scalekit: {
type: "http",
url: process.env.MCP_SERVER_URL!,
headers: { Authorization: `Bearer ${session.token}` },
},
},
allowedTools: ["mcp__scalekit__*"],
},
})) {
if (message.type === "result" && message.subtype === "success") return message.result;
}
}
Session tokens follow three rules:
Expiry runs from 60 seconds to 24 hours, with a one-hour default, and tokens cannot be refreshed, so you mint a new one for each run.
A token presented to any other server URL returns 401.
By default tools/list also includes a connect_account tool, which hands the agent an authorization link to show the user.
The wildcard in allowedTools is safe here because the server already limits the tool list to what you chose. The SDK's tool search is on by default, so a large server does not fill the context window on every turn. For loading strategies at 30 or more tools, see the guide to tool search and dynamic tool loading.
Should You Use Pattern A or Pattern B?
The two patterns produce the same user-level isolation and differ in who owns the tool definitions. The table compares the choices that usually decide it.
Question
Pattern A: custom tools
Pattern B: virtual MCP server
Who writes tool schemas
You, one Zod shape or JSON Schema per tool
AgentKit connector definitions
Where the tool list lives
In your code
In the server config, shared by all users
What you add per run
A new in-process server for the user
A new session token for the user
Works outside the SDK
No
Yes, any MCP client can use the same URL
Best for
3 to 10 tools with custom logic
Many tools across several connectors
How Does a New User Connect Their Account the First Time?
A new user has no connected account yet, so the first run has to send them through authorization before any tool works. Check the account status before starting the agent, and stop with an authorization link when the status is not ACTIVE. The calls below check the account status and mint the link.
import { ConnectorStatus } from "@scalekit-sdk/node";
export async function ensureConnected(userId: string, connectionName: string) {
const { connectedAccount } = await scalekit.actions.getOrCreateConnectedAccount({
connectionName,
identifier: userId,
});
if (connectedAccount?.status === ConnectorStatus.ACTIVE) return { ready: true as const };
const { link } = await scalekit.actions.getAuthorizationLink({
connectionName,
identifier: userId,
});
return { ready: false as const, authorizationUrl: link }; // show this link to the user
}
Call ensureConnected before runAgentFor.
When it returns ready: false, render the link in your UI and skip the run.
Authorization links expire after five minutes by default, and an account can also move to EXPIRED or DISCONNECTED, so run the same check on every request.
To learn when the user finishes, listen for the connected_account.status_updated event or call the check again.
Before launch, switch user verification to Custom user verifier mode; in that mode, link requests must also pass user_verify_url, along with a recommended state value, or they fail with a 400.
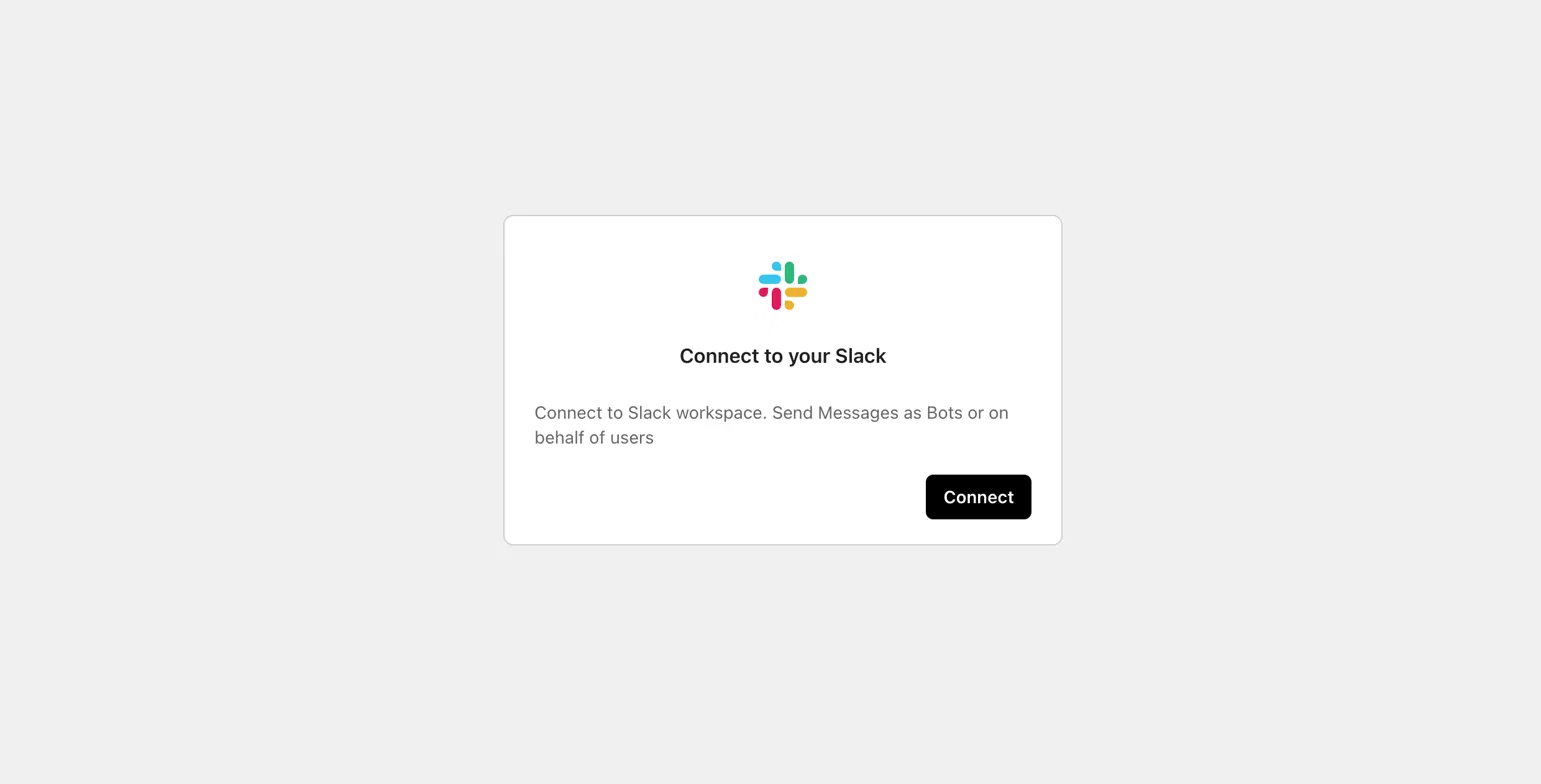
The hosted connect page a user sees after opening the authorization link for Slack.
When the user clicks Connect and approves access in Slack, Scalekit stores the tokens and marks the connected account ACTIVE.
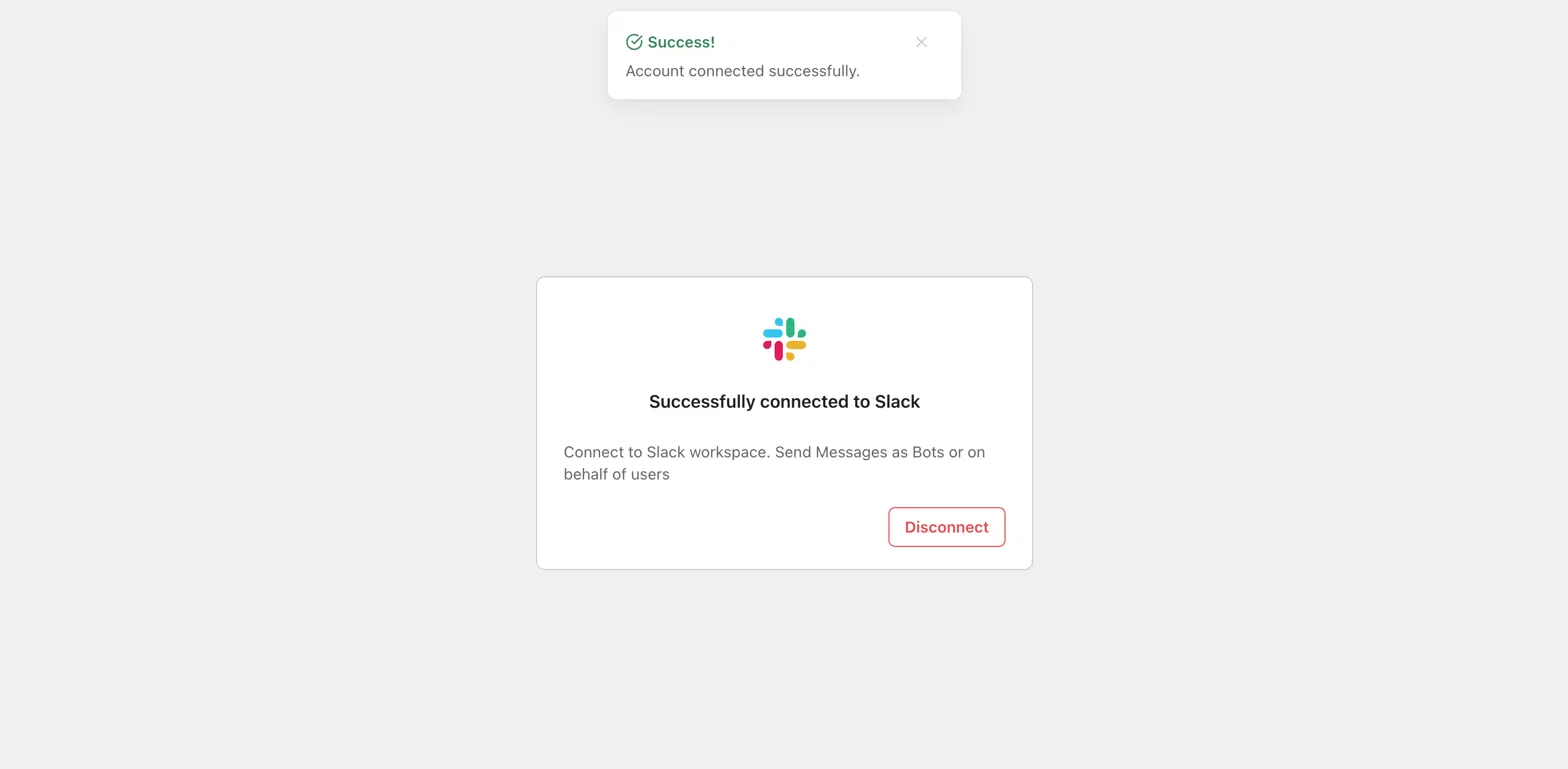
The same page after the user approves access, confirming that the Slack account is connected.
Pattern B can also handle this in-conversation. Its connect_account tool returns an authorization link to the agent, which can pass it to the user. A chat interface that re-authorizes in place is covered in the Vercel AI SDK tutorial, and the same flow applies here.
How Do You Limit Which Tools the Agent Can Call?
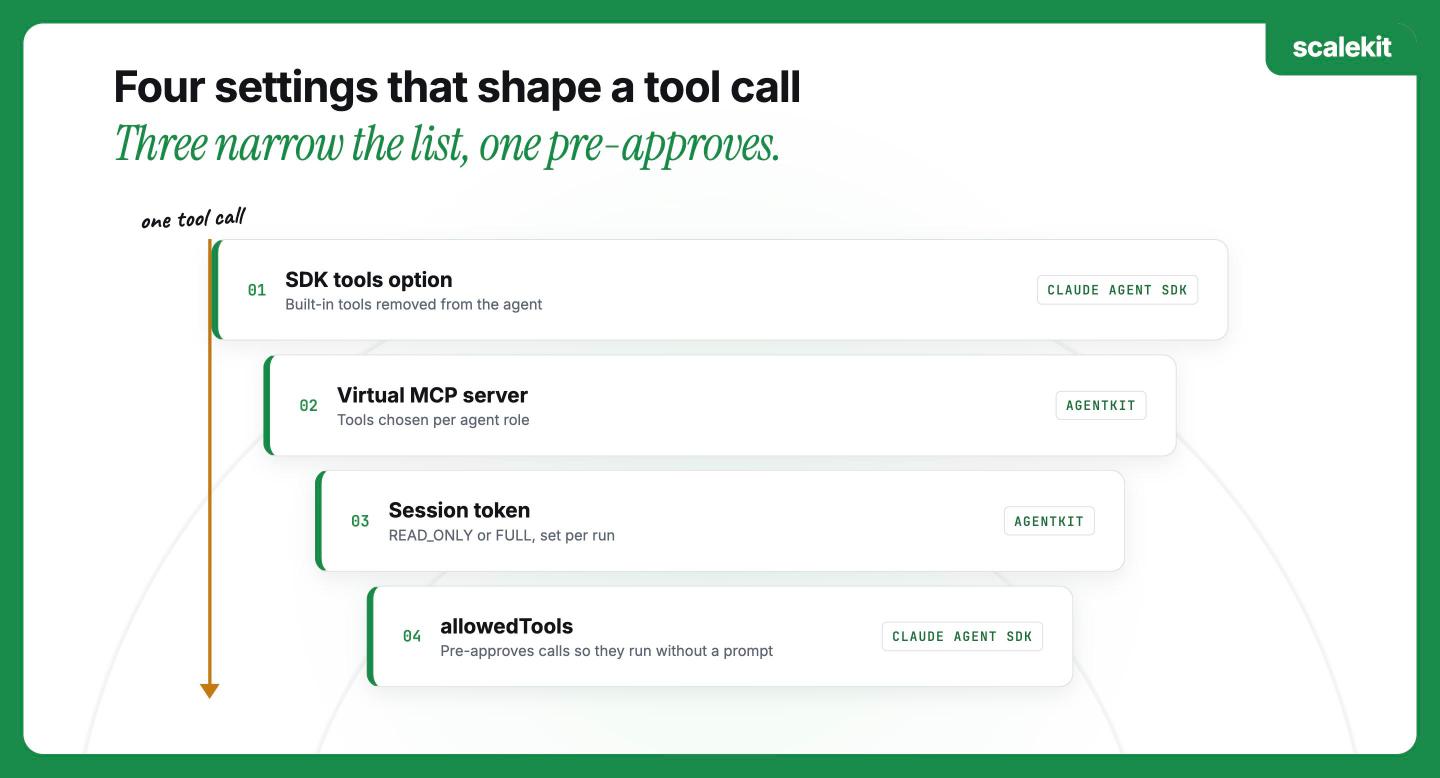
Four settings, split across the SDK, the virtual MCP server, and the session token, limit what a Claude agent can do, and each one answers a different question. As a rule, allowedTools pre-approves tools without removing the others, so a deny rule or an availability setting is what blocks a tool. The table lists each layer and where it is set.
Layer
Setting
Effect
SDK availability
tools: [] or a short tools list
Removes built-in tools such as Bash from the agent's context
SDK permission
allowedTools, disallowedTools, canUseTool
Pre-approves, denies or asks about each call
Virtual MCP server
connectionToolMappings
The agent can call only the tools you chose for that role
Session token
accessLevel: 'READ_ONLY'
The token sees only read-only tools; any other call returns unknown tool
A read-only token lists only read-only tools plus connect_account, and a call to any write tool is refused before it reaches the app.
A practical rule follows from this. Choose the tool list per role on the server, choose read-only or full per run on the token, and use allowedTools only to pre-approve the calls that should run without a permission prompt.
Which of the 17 Claude Agent Recipes Should You Start With?
We have published 17 recipes, and each one builds a per-user agent on the same connected-account model. The table lists the app, what the agent does, and the post that walks through the code. Titles are quoted as each post publishes them.
App
What the agent does
Recipe
Slack
Searches messages, posts to channels, and reads history under each user's own Slack identity
Where Should Per-User Credentials Live in a Claude Agent?
The Claude Agent SDK decides what the agent does next, and the tool calling layer decides whose account each call touches. Pick Pattern A when a few hand-built tools are enough, and Pattern B when you want many connector tools behind one URL.
Scalekit is that layer. It gives every user their own connected account, keeps tokens out of your code and prompts, and narrows tools per role and per run, so one agent can safely act for every user.
Choose a recipe from the directory above, then run the AgentKit quickstart to connect your first user.
FAQs
How do I add OAuth to Claude Agent SDK tools?
The SDK does not run an interactive OAuth flow, so the flow happens in your app. Create a connected account for each user in Scalekit, send them through the authorization link, and let executeTool or a session token apply the stored credential. The agent never handles a raw token.
Can one Claude agent act for many users?
Yes. Build the tool server or the session token per request, keyed to the signed-in user's identifier. The same agent code then runs as a different user on each call, with no shared token between them.
Should I use MCP or custom tools with the Claude Agent SDK?
Use custom tools (Pattern A) for a short list of tools you want to define and validate yourself. Use a virtual MCP server (Pattern B) when you want many connector tools without writing schemas, or when other MCP clients need the same tool set.
How do I connect Gmail to the Claude Agent SDK?
Create a Gmail connection in AgentKit, check the user's connected account status, and send an authorization link if it is not ACTIVE. Then call Gmail tools through executeTool or a virtual MCP server. The invoice extraction recipe walks through a full Gmail agent.
How do I limit which tools a Claude agent can call?
Choose the tool list on the virtual MCP server, mint a READ_ONLY session token when a run needs no writes, and keep allowedTools as a final filter. Remove built-in tools you do not need with the SDK tools option.