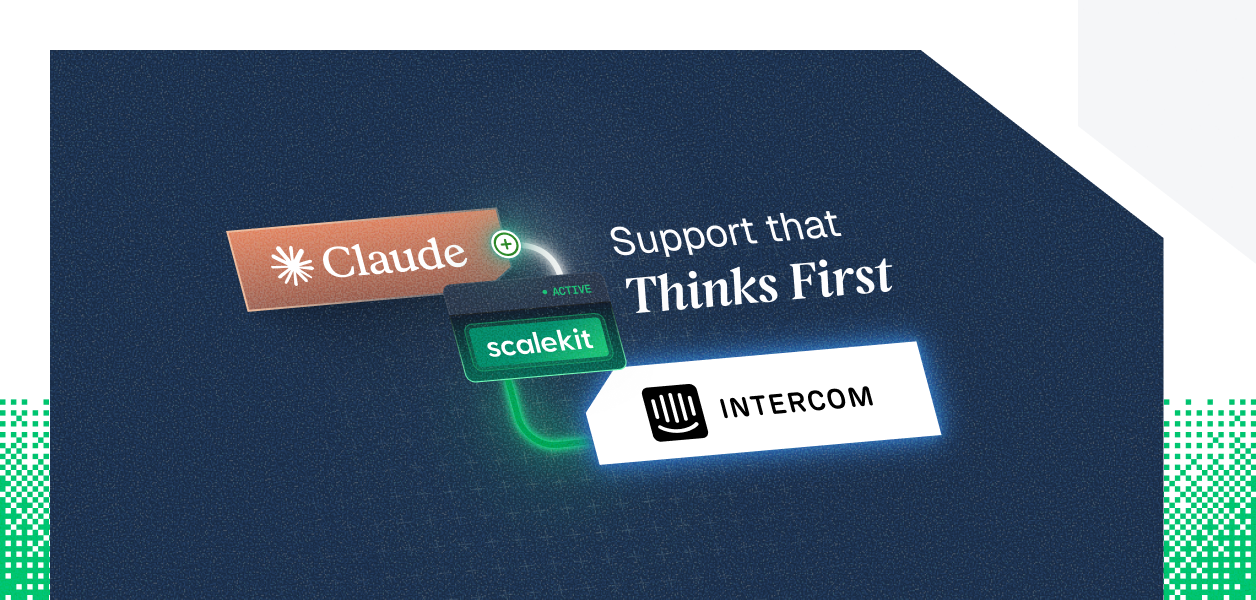
Build a Per-User Intercom Agent with Claude and Scalekit


TL;DR
- A working Claude agent (Python or TypeScript) that replies to conversations, searches contacts, and creates notes in Intercom for individual users. Scalekit handles OAuth, token storage, and refresh. Your code resolves the right identifier and calls scoped tools.
- User connects their Intercom account once (you verify ownership)
- Call listScopedTools with the identifier to get Intercom tools in Anthropic's native format
- In the Claude messages loop, when it wants to use a tool, call executeTool with the same identifier
The easy part is getting a Claude agent to talk to Intercom at all. The part that actually bites is when that agent needs to work for more than one person.
If you're building for a support team, suddenly every teammate wants the agent replying in their workspace with their permissions. If you're shipping this as part of a product, your customers expect the agent to operate inside their Intercom data, not some shared bot account.
Hard-coding a token or using one service account falls apart the moment you have real users. You end up writing OAuth flows, storing tokens, handling refreshes, and basically shipping a mini auth product on the side.
This post shows how to give your Claude agent per-user Intercom access without taking on any of that. Scalekit handles the connections and scopes. Your code just points the agent at the right user at runtime.
Two common agentic use cases for per-user Intercom in Claude agents are internal team agents and customer-facing product agents. An internal agent used by multiple teammates (e.g. support or success) lets each person ask the agent to reply to conversations, update contacts, or pull customer data, executed with that specific user's Intercom permissions and identity. A customer-facing agent (for example, in a SaaS onboarding or support product) can manage conversations inside the end customer's own Intercom workspace, but only after the customer has connected their Intercom account through your app.
If you're adding Intercom to a multi-user Claude agent, the schemas are rarely the hard part. The real work is making sure the agent always uses the correct user's credentials and permissions without you writing and maintaining all the OAuth plumbing.
By the end of this tutorial you will have:
- A way for users to connect their own Intercom account.
- A secure OAuth flow handled by Scalekit.
- Per-user Intercom connections stored safely via identifiers.
- A Claude agent that calls Intercom tools scoped to the current user.
- Complete working code for per-user Intercom tool calling in Claude agents that you can extend to reply to conversations, search contacts, create notes, and other workflows.
Architecture overview
When you're building a Claude agent for multiple users, the challenge is letting each person bring their own Intercom account without sharing credentials.
You control the mapping from your users to Scalekit identifiers. Scalekit handles the Intercom OAuth, token vault, and refresh. Your agent only ever uses the identifier for the current user when calling tools.
The two key flows are:
- Connection time: Your user connects their Intercom through Scalekit (with proper verification that the real user completed the OAuth).
- Runtime: Your agent resolves the identifier for the current user (after your own authorization check) and gets properly scoped Intercom tools via Scalekit.
Here's the architecture:
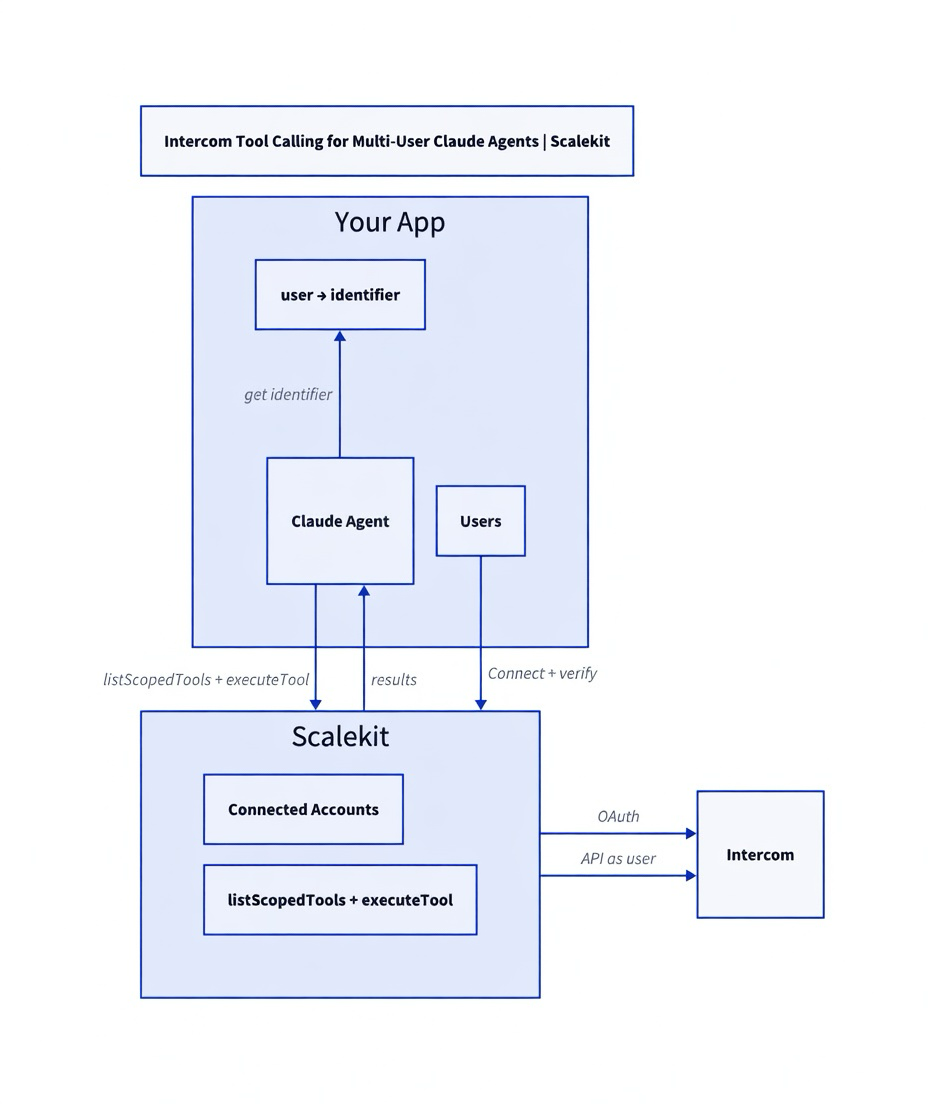
Key point: The identifier is the secure key that lets your code act as one of your users. Store it securely in your own system and always authorize before using it.
Who is this for
This is for developers building Claude agents that multiple people will use.
It could be an internal tool your support or success team uses every day, or a feature inside the product you sell to customers. In either case, the people using the agent need their own Intercom data and permissions to show up.
You'd rather not also become responsible for managing Intercom OAuth and tokens. This approach keeps the focus on the agent logic itself.
A personal single-user agent is possible with the same pieces, but the main story here is scaling safely to many users.
Shared accounts look fine until they don't
At first it feels fine. You drop in one token, the agent replies to a conversation or looks up a contact, and you ship it.
Then real usage shows up. Your support teammate wants the agent working in their workspace with their permissions. The customer using your product expects the agent to see only their data. Different people have different access levels, different teams, different everything.
Trying to paper over it with one shared account or by rolling your own OAuth quickly turns into a side project nobody signed up for. You end up managing tokens, refreshes, revokes, and mapping your own user IDs to Intercom ones. Most teams just want the agent to do the job without becoming Intercom auth experts.
Scalekit owns the OAuth mess so you don't have to
Scalekit takes the OAuth and token stuff off your plate completely. You just decide on an identifier for each of your users or customers. Scalekit does the connection, the storage, the refresh, and only hands back tools that account is actually allowed to use.
Your agent gets clean, already-scoped tools for that specific person. The agent logic stays simple. Same pattern works whether this is an internal team tool or something your customers connect inside your product.
Prerequisites
- Python 3.9+ or Node.js 18+
- A Scalekit account with an Intercom connection created in the dashboard (Agent Auth → Connections). The connection name must match exactly (e.g. intercom).
- An Anthropic API key.
- Basic familiarity with the Anthropic Messages API and tool calling.
New to any of these? See the Scalekit AgentKit quickstart and the Anthropic tool calling docs.
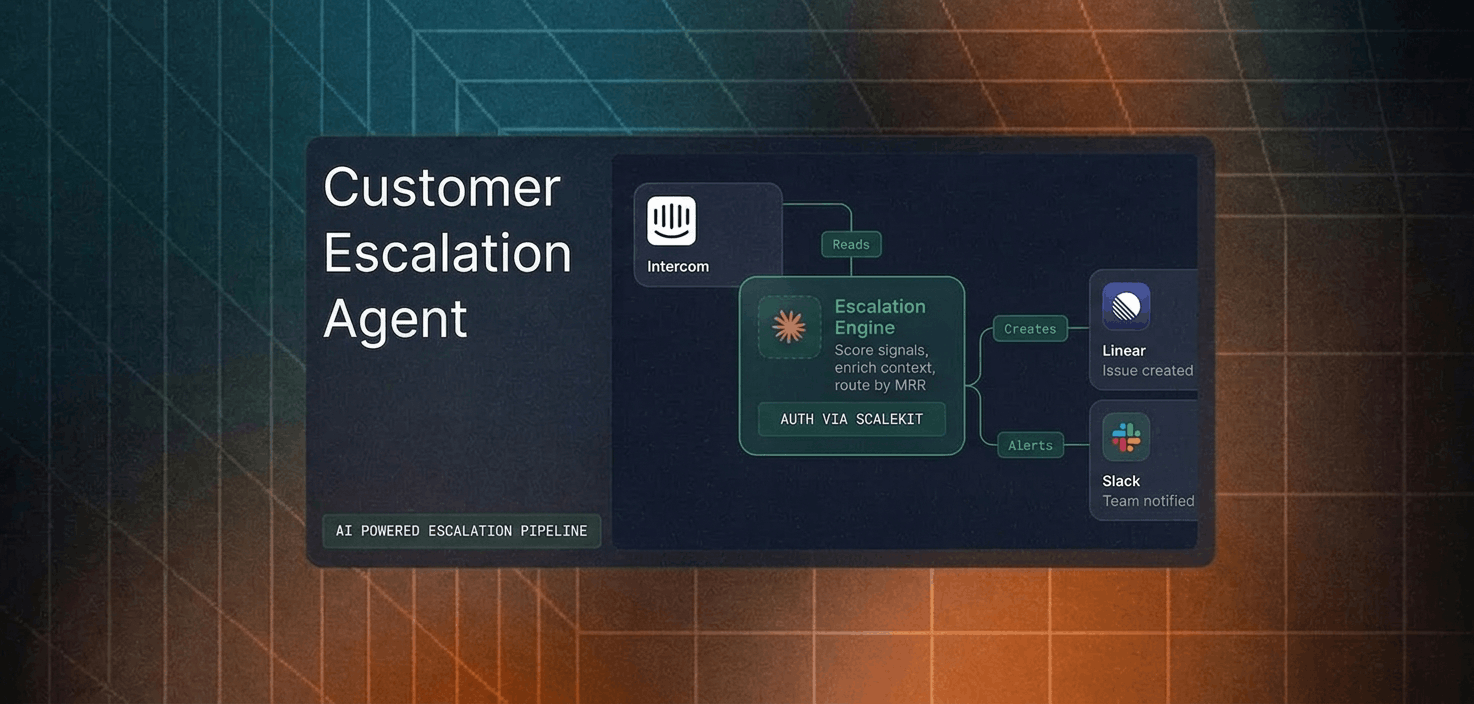
Real things your agent can do once it has the right account
With a user's Intercom connected, realistic agent capabilities include:
- Reply to conversations on behalf of the user (e.g. "Reply to the latest message from acme@example.com saying we'll follow up tomorrow").
- Search contacts by email or name.
- Create notes or tags on conversations/contacts.
- Pull recent customer data for context before responding.
These actions execute with the exact permissions and data of the connected Intercom user, not a shared bot account.
First, get the user connected (the secure way)
Use the standard getOrCreate + verification pattern (identical to other posts in the series).
Pull the right tools and hand them to Claude
When Claude wants to do something, run it as the user
When Claude returns tool_use blocks:
See the full example below for the complete loop.
Supported Intercom Tools
Typical tools returned by listScopedTools for a connected Intercom account (exact set depends on scopes configured):
- intercom_conversations_reply: Reply to a conversation.
- intercom_contacts_search: Search contacts.
- intercom_notes_create: Create a note on a contact or conversation.
- intercom_conversations_search: Search conversations.
See the full current list in the Intercom connector docs in Scalekit.
Complete Code
Here's a complete, self-contained example (TypeScript shown; Python version follows the same structure with the anthropic package).
Python notes: The Python version uses the anthropic package. The structure is almost identical (snake_case, messages.create, tool_use blocks, feed tool_result). Replace the TypeScript client with the Python Scalekit SDK. Full example available in the linked cookbooks.
Run it:
You should see the agent reply in the user's Intercom (visible in their workspace) and a final text response.
Why the identifier is doing the heavy lifting
The identifier you hand over when you list or run tools is what picks whose Intercom data actually gets touched. The model side never sees any tokens.
Your own code has to resolve that identifier after you've already verified the request through your normal auth. Don't ever just trust something that came from the frontend.
The same core idea shows up in credential ownership patterns across agent tool-calling architectures. When the agent holds the credential versus when an intermediary manages it changes the security model entirely.
Troubleshooting
Why does my connection never become ACTIVE?
You skipped or called verifyConnectedAccountUser incorrectly. The redirect must hit your protected callback, which then calls verify with the authRequestId + the correct identifier (after you confirmed ownership).
Tool calls return permission errors or empty results?
The scopes on the Intercom connection in Scalekit may be insufficient, or the user revoked access. Re-authorize using getAuthorizationLink with the same identifier.
Identifier issues or "no tools returned"
You are resolving the identifier from untrusted input (e.g. frontend) instead of your server-side auth, or the account for that identifier is not ACTIVE for the "intercom" connection.
Tradeoffs & Limitations
What's Next
- Dive into the connected accounts guide and code samples.
- Check the specific Intercom connector and the full AgentKit connectors catalog.
- Explore advanced topics like bring your own connector.
- Compare with the Mastra version of Intercom (or any other connector) for side-by-side.
- Create a Scalekit account and connect your first Intercom account: scalekit.com