

A multi-user GitHub PR summarizer running as one Render web service. Every browser session connects its own GitHub account. The server mints the Scalekit identifier and never accepts one from the browser.
By the end of this tutorial
Note: The code in this post is lifted from the reference repo, which runs as a live Render service. Run the setup checklist in that repo against your own Scalekit environment and GitHub OAuth app before treating your deploy as proven. Model ids and dashboard wording change; confirm both before production.
Most of the confusion in this setup comes from one wrong assumption: that the browser completes OAuth "with your Render URL." It does not. GitHub redirects to Scalekit. Scalekit stores the token. Your app on Render never handles a GitHub token at all.
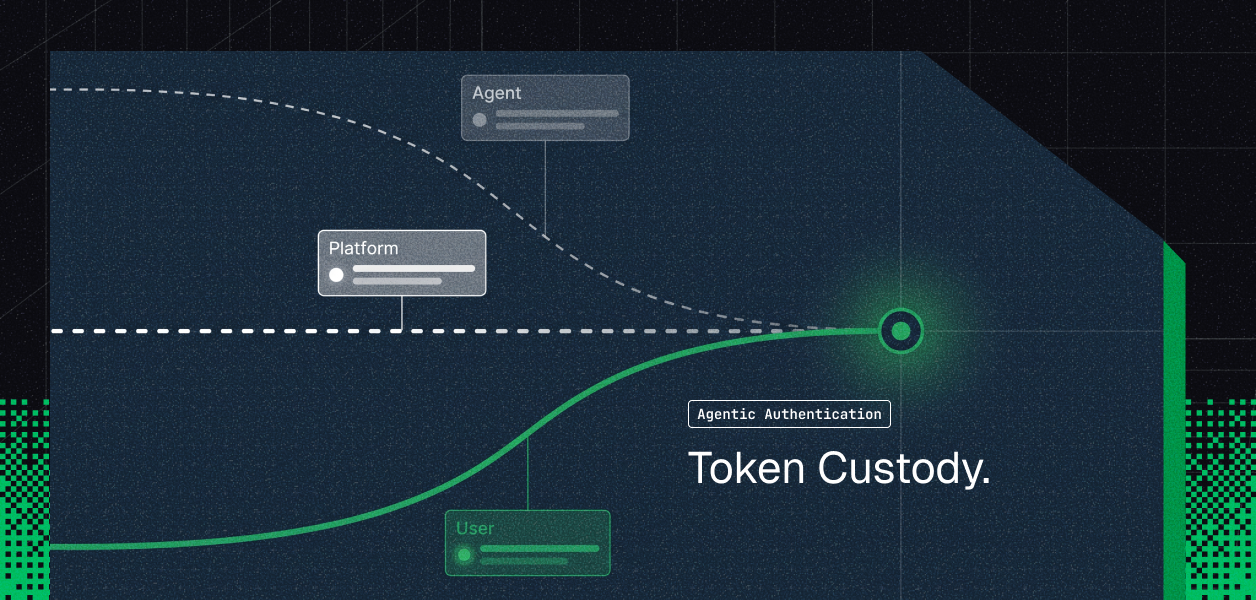
Here is who owns what:
Two flows run through those three products. At connection time, a user authorizes GitHub and Scalekit stores the result against an identifier your server chose. At runtime, your server looks up that identifier from the session and asks Scalekit to execute a tool as that user.

Note: "The identifier is the key that lets your code act as one of your users. It is minted server-side, stored server-side, and never sent by the browser."
Key point: the identifier is the sensitive value in this design, not the cookie. The cookie is a random opaque session id with an HMAC over it. The identifier that unlocks a stored GitHub token stays in your session store.
You already have an agent. It runs locally, it calls a model, and the logic is basically right. What you do not have is a place to run it and a way for other people to bring their own accounts to it.
The "multiple users" in this post are your users. They might be teammates on one internal tool, or customers of a product you are shipping. Either way, each of them authorizes their own GitHub account once, and every later tool call runs with that person's identity and permissions.
Running an agent for yourself alone works with the same primitives. It is just not the case this post is built around, because a single-user agent never hits the impersonation problem that shapes the whole design.
Put one shared GitHub token in a Render environment variable and the agent works on the first try. It also means every user sees every repo that token can see. There is no per-user permission, no audit trail, and no way to revoke one person without breaking everyone.
The obvious fix is per-user tokens, which is where the real work starts. You now own an OAuth flow, a token store, refresh logic, and a revocation path. That is a security product, sitting next to the agent you actually wanted to build.
There is a sharper failure mode hiding underneath. Suppose you store per-user tokens correctly, keyed by some user id, and the browser tells the server which id to use. Any user can now send someone else's id and act as that person. The token store is fine. The lookup is the vulnerability. This is the exact problem explored in Who Holds the Token? Credential Ownership Across Agent Tool-Calling Patterns.
Split the two problems and each one gets small.
Render runs one Node web service. It holds your app secrets, serves a public URL, and restarts on deploy. Nothing about per-user auth lives there.
Scalekit holds the GitHub connector, the OAuth lifecycle, and a token vault keyed by an identifier that you choose. Your app's whole job is to choose that identifier safely: mint it server-side, store it in the session, and resolve it from the session on every request.
That is why the browser never sends a user id in this sample. There is no field for one in the UI and no parameter for one in the API. The only thing the browser carries is a signed cookie that points at a server-side session, and the identifier lives inside that session.
Open app.scalekit.com and pick the environment you will use. Go to Developers → API Credentials and copy three values:
Stay in this environment for every remaining step. Credentials from one environment with a connector from another produce OAuth errors that look like connector bugs.
In the same environment, go to AgentKit → Connectors and add a GitHub connector. Copy two things:
Leave that tab open. The redirect URI is what GitHub needs next.
Checkpoint: you should now have four values written down: three credentials and one connection name.
This is the step that costs people an afternoon.
Go to GitHub Settings → Developer settings → OAuth Apps and create an app. Set the Authorization callback URL to the exact Scalekit redirect URI from step 2.
Do not set it to any of these:
GitHub allows one primary callback, and it has to be Scalekit, because Scalekit is what exchanges the code and stores the token. Your app finds out that the connection succeeded through user verification or polling, not from GitHub calling Render.
Then paste the OAuth app's client ID and secret into the Scalekit connector and save.
Go to AgentKit → Settings → User verification and pick a mode.
Do this before the first Connect GitHub click. Skipping it is the single most common reason the UI sits on "Waiting for GitHub authorization" after an OAuth flow that looked successful.
Custom verification needs Scalekit to reach your public URL, so it wants a deployed Render service or a tunnel. For local work, start with Scalekit users only and switch before production.
Now the code. Two rules carry the whole security story: the server mints the identifier, and the server is the only place it is ever read from.
The session layer issues a random session id, signs it into a cookie, and keeps the identifier in a server-side entry:
The connect route mints the identifier, binds a single-use state value to the session, and asks Scalekit for an authorization link:
Note what is absent: the request has no body. There is nothing for a caller to supply and nothing to validate, because identity comes from the cookie.
The verification callback reads identity from the session and the auth_request_id from the query string. It never trusts an identifier from the URL:
The original tab polls a status route while the OAuth tab is open. That route checks the session first, then asks Scalekit whether the connected account went active:
Both detection paths run in parallel and whichever fires first wins. That is what lets one codebase work in either verification mode.
Checkpoint: run locally, click Connect GitHub, finish consent in the new tab, and the original tab should flip to a connected banner within a few seconds.
Tool calls take the identifier and the connection name. Scalekit injects the stored token for that pair, so your code never touches one. This is the core of tool calling authentication for AI agents — the agent never holds credentials directly.
For endpoints without a named tool, the same connected account backs a raw authenticated request:
The summarizer uses both. It lists open PRs with a named tool, then pulls each diff and comment thread through raw requests. Render's workflow helper wraps each step with retries:
Only then does the model appear, and its job is narrow. It receives diffs and comment text and returns one paragraph per PR. It does not choose tools, and it never sees a credential:
The summarize route closes the loop. It reads the identifier from the session, and rejects the request outright if that session never connected:
The request body carries a repository. It does not carry a user.
A blueprint keeps the environment reproducible and generates the session secret for you:
Two deployment details matter more than they look.
SESSION_SECRET signs the session cookie. With generateValue: true, Render creates a stable one. Deploy from the dashboard without it and the app falls back to a per-process secret, which means every restart logs everyone out.
OPENAI_BASE_URL should be deleted, not blanked, when you use OpenAI directly. An empty string still counts as set, and a leftover proxy URL sends your OpenAI key to the wrong host.
If you switched to custom user verification in step 4, confirm Scalekit can reach https://<your-service>.onrender.com/user/verify once the service is live.
Checkpoint: open the Render URL, connect GitHub, paste a public owner/repo, and a summary should appear. The model call can take up to two minutes on a large repo.
The complete app is one repo:
github.com/scalekit-developers/render-ai-agent-deploykit
Try the live demo first if you want to see the flow before configuring anything. There is a step-by-step cookbook and a video walkthrough covering the same setup.
To run it locally:
The pattern is connector-agnostic. Swap github_pull_requests_list for a Slack, Gmail, or Notion tool, change the connection name, and the identifier plumbing does not move. Browse the connector catalog for what is available. For a related walkthrough of a multi-connector approach, see Build an Engineering Standup Agent - GitHub, GitLab, Jira, Slack.
User verification mode is not set. Go back to step 4. Scalekit cannot mark the account active until a mode is chosen, so both the polling path and the callback path stay silent.
The GitHub OAuth app's callback URL points at your Render service or localhost. It has to be the Scalekit redirect URI from step 2. See step 3.
The credentials and the connector are probably in different Scalekit environments. Re-check steps 1 and 2 and confirm both came from the same environment.
That session never completed the connect flow, or the cookie was dropped. Confirm SESSION_SECRET is stable, then run the connect step again. Sessions also reset whenever the service restarts, because this sample stores them in memory.
Check whether OPENAI_BASE_URL is set. If it points at a proxy, OPENAI_API_KEY must be that proxy's virtual key, and OPENAI_MODEL must be an id that proxy lists. Mixing an OpenAI project key with a proxy base URL fails on every request.
The connected GitHub account cannot see it, or an org admin has not approved the OAuth app for private repository access. Public repos work with any connected account.
Two limits in this sample are deliberate. Sessions live in memory, so they reset on restart and will not survive more than one instance; move them to Redis or a database before you scale past one. And the model only writes prose, which keeps the blast radius small but also means the agent cannot decide to call a different tool on its own. For a deeper look at the cost tradeoffs of building this yourself, see The Hidden Cost of Building OAuth Internally for AI Agents.