Build a Multi-User Agent - FastRouter, Scalekit, Gmail


TL;DR
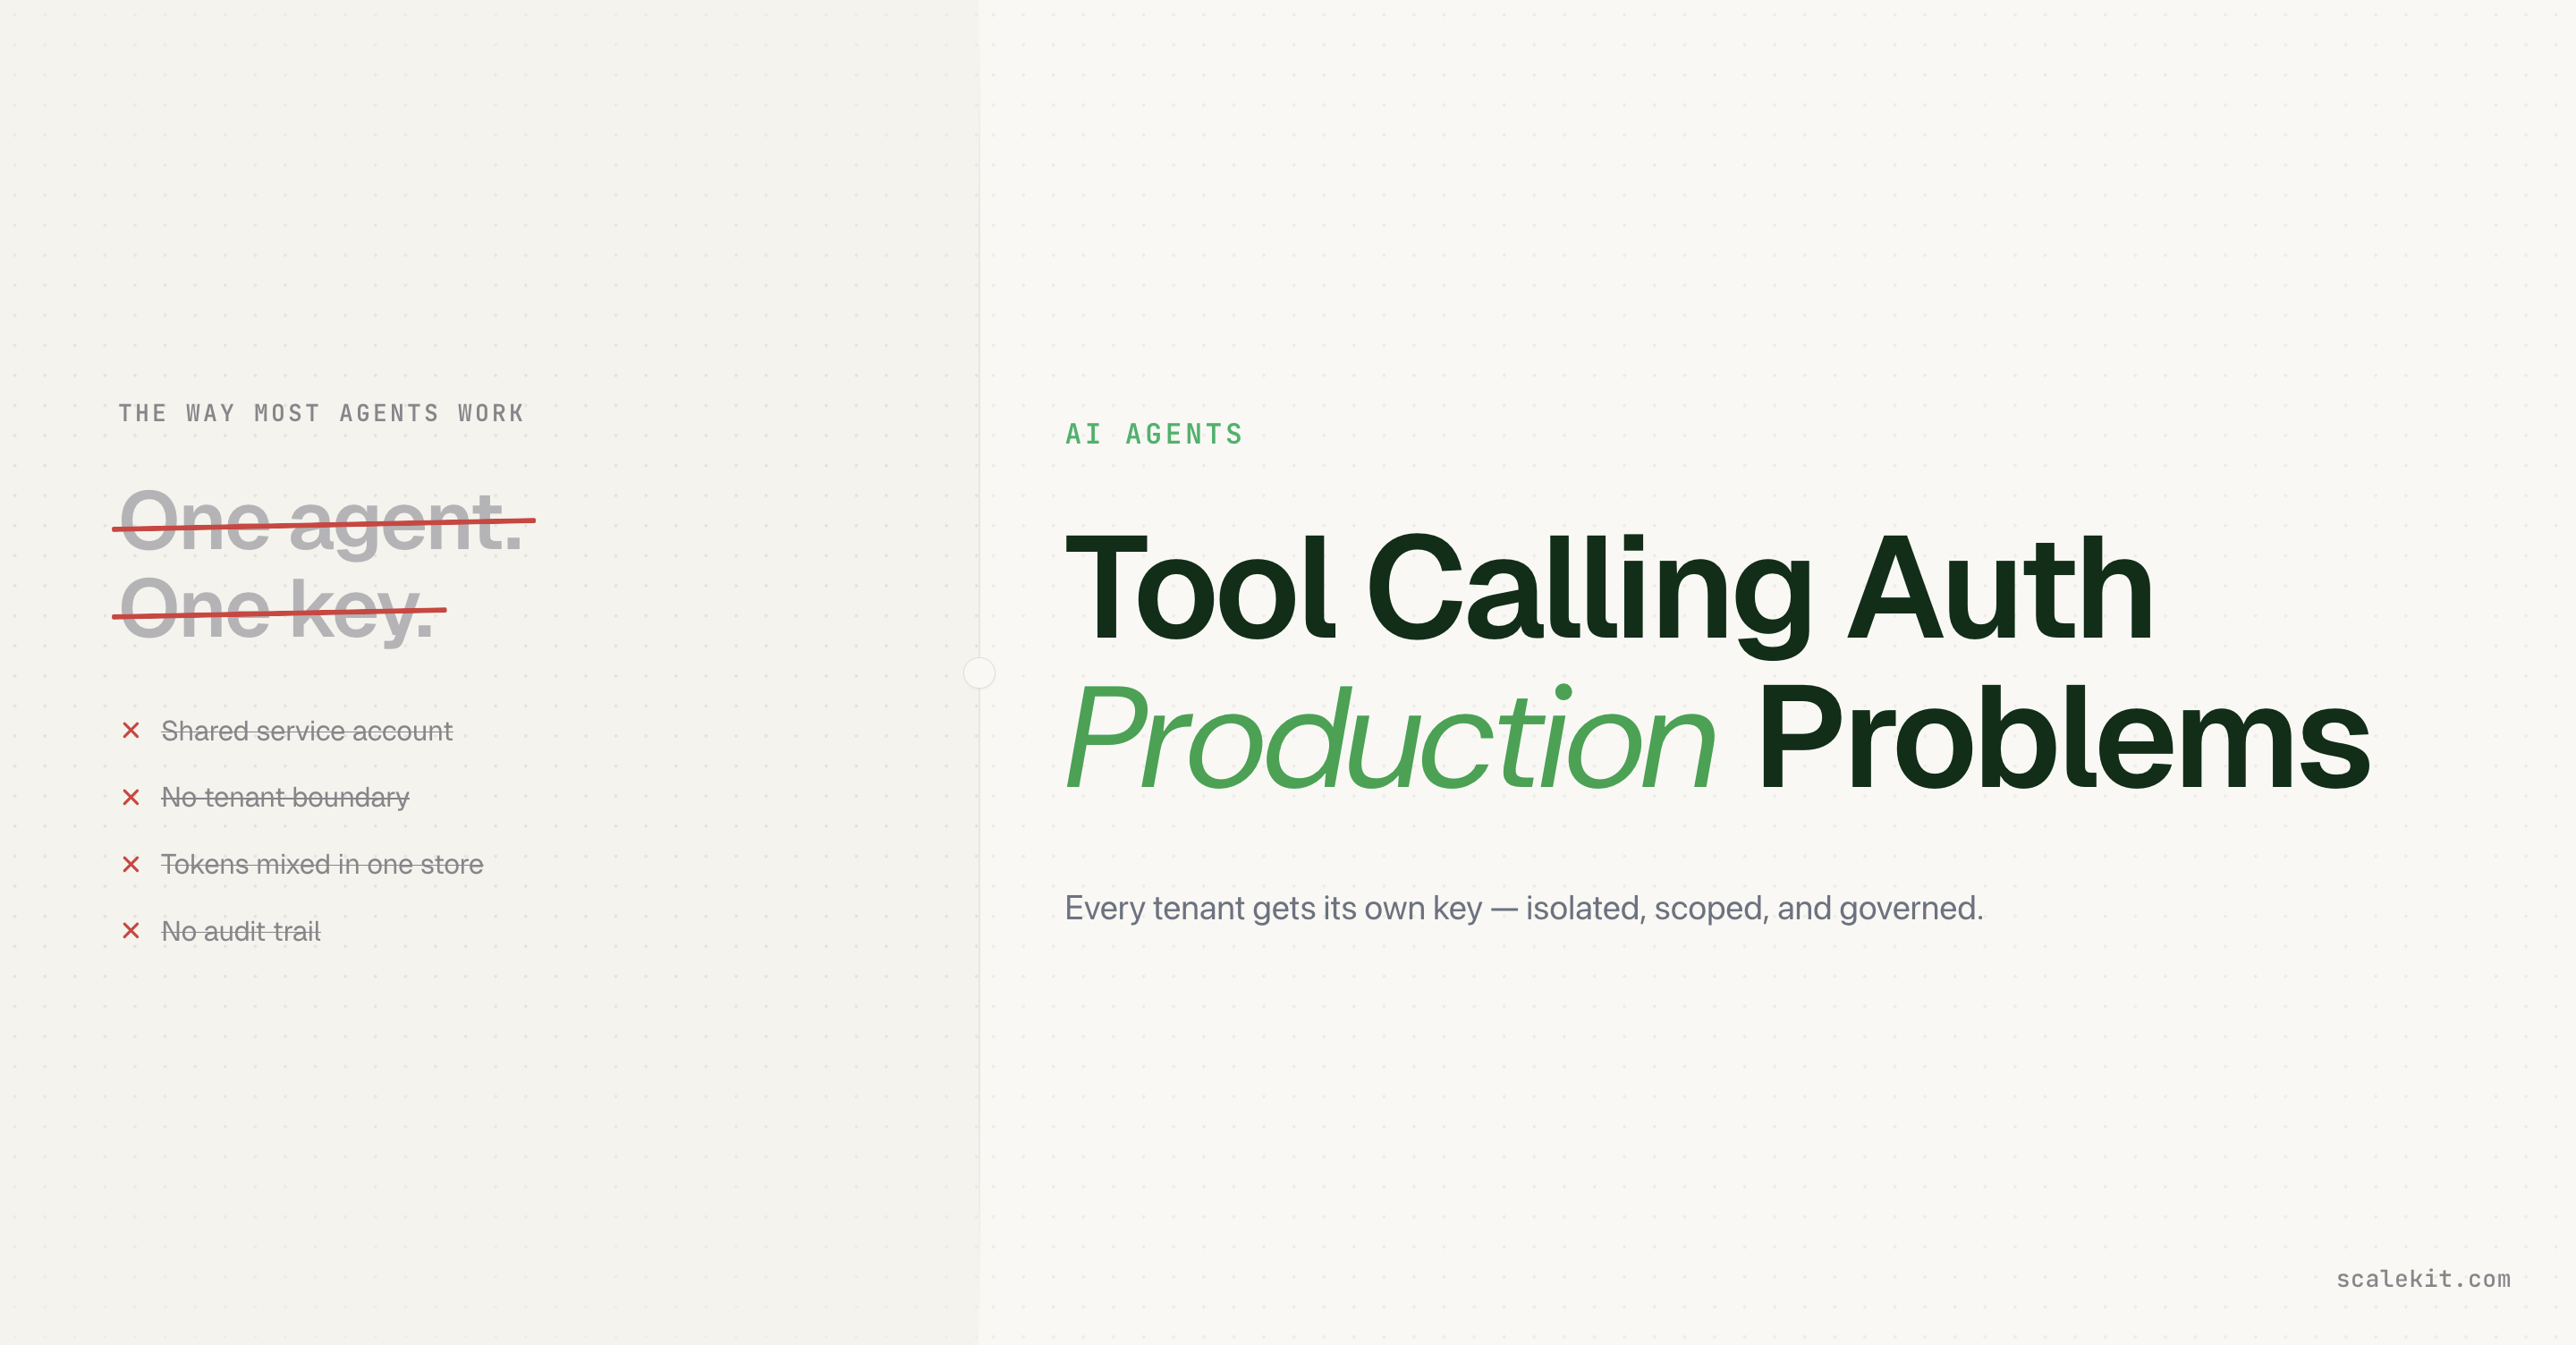
- Model routing and user authorization are different problems that need different tools. Conflating them is what creates the unplanned OAuth side project.
- The only thing that changes per user is the identifier. The router never sees tokens; just tool schemas and opaque results.
- verifyConnectedAccountUser is what transitions a connection to ACTIVE. Skipping it lets any OAuth callback claim ownership of any user's account.
- Scalekit handles OAuth, token lifecycle, and per-user scoping. Your router handles reasoning. Your app passes a single identifier between them.
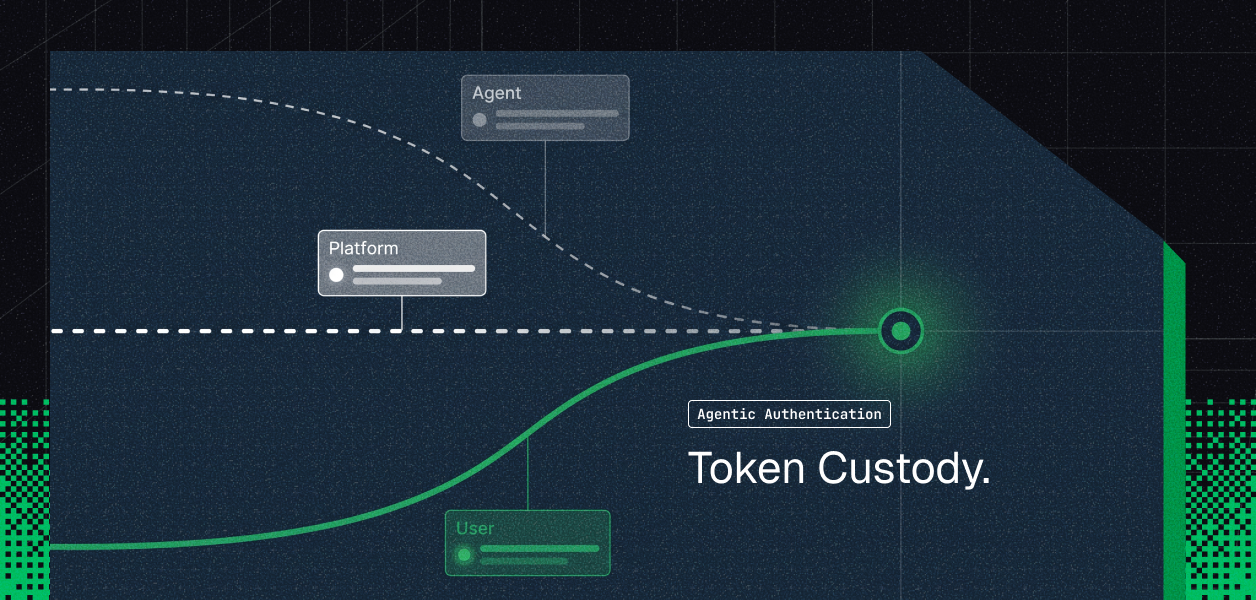
When you build an agent that acts inside real user accounts, a shared credential is not an option. Every action must carry the permissions of the specific person who asked for it.
The moment you serve more than one user, two distinct problems appear simultaneously: which model should reason and pick tools, and whose tokens should actually execute them. Most teams discover these are not the same problem when they are already deep into building OAuth flows, token storage, and refresh logic as an unplanned side project.
The fix is to keep them separate: one system for model routing, another for securely executing tools on behalf of individual users. Your application only passes the right identifier between them.
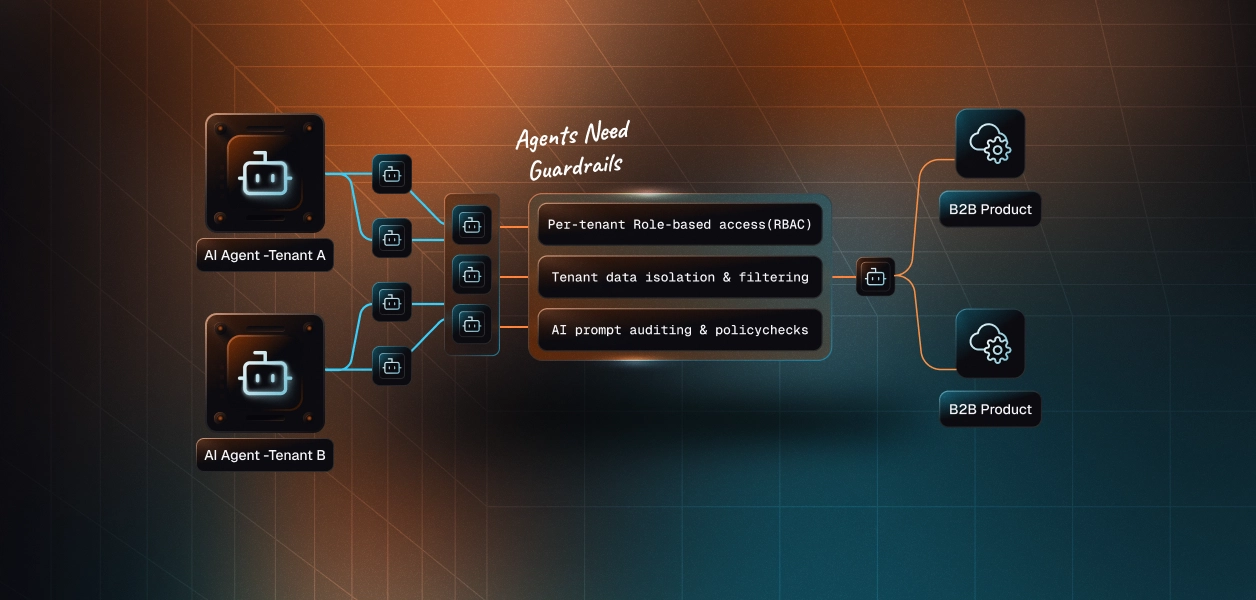
Architecture overview
When you are building an agent that serves multiple users (inside your organization or as a product for your customers), the real challenge is letting each of those users bring their own connected accounts securely.
One system can handle the reasoning and tool selection. Scalekit handles the identity, OAuth, token lifecycle, and actual execution against the connected services using the correct user's credentials.
You control the mapping from your users to Scalekit identifiers. Scalekit handles the OAuth, token vault, and refresh. Your agent only ever uses the identifier for the current user when calling tools.
The two key flows are:
- Connection time: Your user connects their account (Gmail, etc.) through Scalekit (with proper verification that the real user completed the OAuth).
- Runtime: Your agent resolves the identifier for the current user (after your own authorization check) and gets properly scoped tools via Scalekit. Completions still go to your router.
Here's the architecture:

Key point: The identifier is the secure key. Your code resolves it server-side after authenticating the request. FastRouter only ever receives tool definitions and opaque results. It never sees tokens or acts directly on third-party services.
This separation is what lets you safely use any OpenAI-compatible router while still giving every user their own permissions.
Who is this for
This is for developers and teams who are building agents for multiple users, either for their own organization (for example, an internal agent used by multiple people on a team) or as a product or feature that serves external customers.
You are the builder of the agent. You may be using (or evaluating) an OpenAI-compatible router for model flexibility, cost, or fallbacks. The "multiple users" are your users or customers. Each of them should be able to bring their own Gmail, GitHub, Slack, and other accounts into the agent you built, without you having to maintain OAuth flows, token storage, or refresh logic yourself.
Building an agent purely for your own personal use is possible with the same primitives, but it is not the primary story this post tells.
Prerequisites
- Node.js 20+
- A Scalekit account with at least one connection configured (we'll use Gmail in the examples)
- A FastRouter account and API key
- @scalekit-sdk/node and openai packages
New to connected accounts? See the Scalekit AgentKit quickstart and the fastrouter-specific cookbook patterns.
Example workflows
With Gmail connected for a specific user, a good agent prompt can do things like:
- "Summarize the last 5 emails from my manager and draft replies."
- "Find all emails from the last week that mention 'pricing' and create a summary document."
- "Search for the thread with subject 'Q3 planning' and extract action items."
The key is that these actions happen with that user's Gmail permissions and data, not a shared account.
You can do the same pattern with any connector (search GitHub issues assigned to the user, create Linear tasks in their workspace, reply in their Intercom conversations, etc.).
Step 1: Connect a user with proper verification
Install the SDKs:
Initialize the clients:
Use getOrCreateConnectedAccount + getAuthorizationLink with a userVerifyUrl and state for security. After the user completes OAuth, your protected callback must call verifyConnectedAccountUser.
Critical: verifyConnectedAccountUser (called from your server after validating the OAuth callback + state) is what transitions the account to ACTIVE. Never skip verification in production.
See the user verification docs and the demo repo for a minimal callback server example.
Step 2: Get scoped tools for the user
listScopedTools only returns tools the connected account is actually authorized for.
Step 3: Run the agentic loop with your router
Your router receives the tool schemas and decides when to call them. Your code is responsible for executing them with the correct identifier. The router never sees tokens.
For a complete, runnable example (including a small callback server for verification, state validation, error handling, and CLI usage), see the official fastrouter-scalekit-demo.
Supported Gmail Tools (example)
When you call listScopedTools for a connected Gmail account you typically get tools like:
- gmail_list_messages
- gmail_get_message
- gmail_send_message
- gmail_search_messages
The exact list depends on the scopes you configured for the connection in Scalekit. See the Gmail connector documentation for the authoritative and up-to-date set.
You can swap gmail for any other connection name (github, linear, slack, intercom, zendesk, etc.) and the same code structure works.
Why This Already Handles Multiple Users
The identifier is the only thing that changes per user.
- User A connects their Gmail → you store userA-app-id → identifier.
- User B connects their Gmail → different identifier.
- When running the agent for a request, you look up the identifier from your own authenticated user/session (never from the client).
- The router only sees the tool schemas and the text results. It has no idea whose account is being used.
Rule: The identifier is sensitive. Always resolve it from your database or session after you have verified that the current caller is allowed to act as that user. Never trust an identifier supplied by the frontend.
This is identical to the Claude and Mastra versions in this series. The LLM provider (FastRouter or any other in this case) is just a detail. The identity and authorization model stays with Scalekit.
Tradeoffs & Limitations
What's Next
- Try the same pattern with other connectors (GitHub, Slack, Linear, etc.).
- Read the full AgentKit documentation and the FastRouter + Scalekit cookbook for the concrete example used here.
- See MCP auth patterns if you're also building MCP servers.
- Pair this with the Claude or Mastra version of the same connector for comparison.
- Clone the example: github.com/scalekit-developers/fastrouter-scalekit-demo