October 1, 2026
AgentKit

Scope selection: users choose which permissions to grant when they connect an app

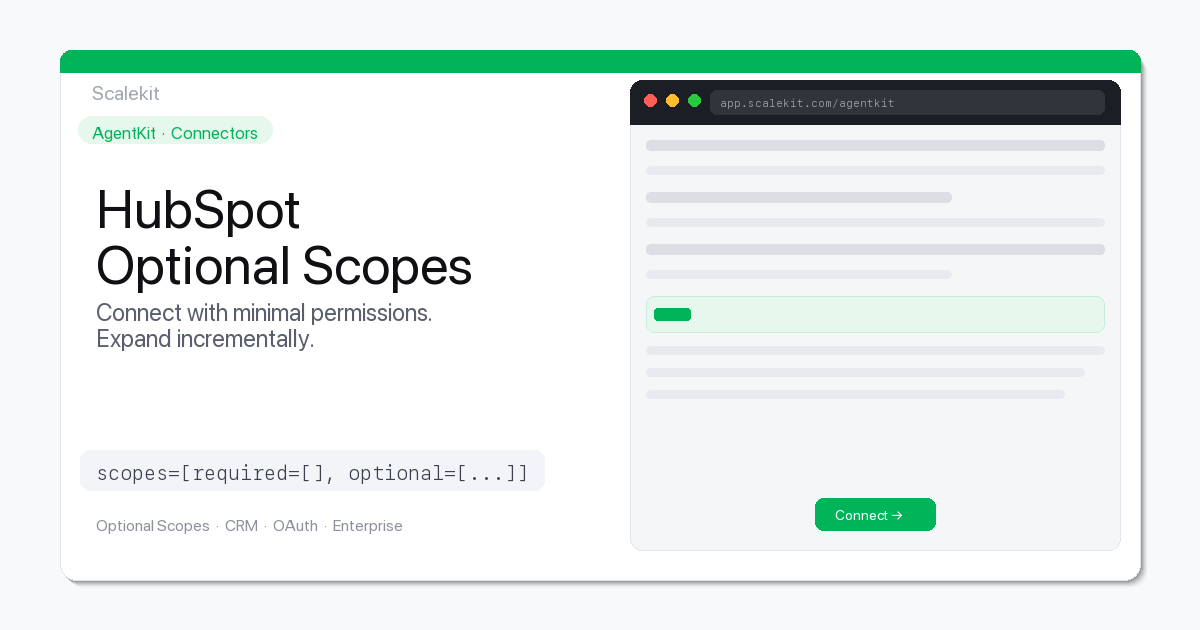
Users connecting an app through Scalekit can now leave optional scopes unchecked. Required scopes stay locked so the agent still works, and people whose IT team blocks write access can still connect.

Until now, a user connecting an app had to accept every scope the connection asked for. If their IT team blocked even one of them, usually a write permission, they could not connect at all. A read-only agent also ended up holding a token that could write.

With scope selection, you mark each scope on a connection as required or optional. On the hosted connect page, required scopes are shown as locked and optional scopes appear as checkboxes. The connected account holds only the scopes the user approved.

Take a summarizing agent connected to Gmail. You make read access required and sending optional. A user who only wants summaries leaves sending unchecked, and their account never holds a token that can send mail. A user who wants the agent to reply checks the box. Both connect through the same connection.

How it works

  • In the dashboard, mark each scope on a connection as required or optional.
  • The hosted connect page shows required scopes as locked and optional scopes as checkboxes.
  • Scalekit requests only the selected scopes from the provider and stores the token on the user's connected account.
  • To add a scope later, send the user a new authorization link and they approve the added scope.

Read the connected accounts docs.

Share on

Scope selection: users choose which permissions to grant when they connect an app

—

Until now, a user connecting an app had to accept every scope the connection asked for. If their IT team blocked even one of them, usually a write permission, they could not connect at all. A read-only agent also ended up holding a token that could write.

With scope selection, you mark each scope on a connection as required or optional. On the hosted connect page, required scopes are shown as locked and optional scopes appear as checkboxes. The connected account holds only the scopes the user approved.

Take a summarizing agent connected to Gmail. You make read access required and sending optional. A user who only wants summaries leaves sending unchecked, and their account never holds a token that can send mail. A user who wants the agent to reply checks the box. Both connect through the same connection.

How it works

  • In the dashboard, mark each scope on a connection as required or optional.
  • The hosted connect page shows required scopes as locked and optional scopes as checkboxes.
  • Scalekit requests only the selected scopes from the provider and stores the token on the user's connected account.
  • To add a scope later, send the user a new authorization link and they approve the added scope.

Read the connected accounts docs.

Schedule a demo with Scalekit today.