Guide to building SSO solutions with Java Spring Boot


What is Single Sign On (SSO)?
SSO allows users to authenticate once and gain access to multiple applications without needing to log in repeatedly. SSO makes login easier and provides better security by managing user authentication effectively through a single login. It also enhances user experience by reducing friction in accessing user accounts and improving the way authentication service providers handle user record validation.
What this guide covers
In this guide, you’ll implement enterprise-ready SSO in a Spring Boot client application using Scalekit. By the end, you’ll:
- Set up a login endpoint that generates a secure authorization URL
- Handle the callback and verify the one-time authorization code
- Fetch user details from the identity provider
- Establish user sessions using secure cookies or Spring session management
- Support enterprise IdPs like Okta, OneLogin, Entra ID, or JumpCloud
- Test your flow locally with Scalekit’s IdP simulator, and go live with real credentials
Overview of how SSO fits into a Spring Boot application
Spring Boot, which uses the Spring Security framework, offers support for implementing Java SSO using OAuth 2.0 or OpenID Connect (OIDC). Here’s how.
- Authentication management: Spring Security handles redirects to external Identity Providers (IdPs) for user login, social login, and SP-initiated SSO flows
- Token management: Access tokens are used for resource authorization, containing user info for identity verification and resource server validation.
- Role-based Access Control (RBAC):Define and enforce user roles based on token claims and the structure of your user model within your security configuration.
Manual SSO in Java is complex and slow
The manual setup of SSO in Java Spring Boot results in adding too many complexities to the system. Although Spring Security integrates with OAuth 2.0 and OIDC by default, it proves hard to incorporate several IdPs with SAML and other protocols. SP-initiated SSO setups require careful handling of URL patterns, user info, and configuration files — especially when dealing with endpoint management across services.
Let’s explore how this complexity unfolds in real-world scenarios.
Example: LedgerStack’s painful auth setup
LedgerStack, a fictional financial SaaS platform built using Spring Boot, faced the daunting task of integrating with four major enterprise customers—each using a different IdP: Okta, OneLogin, Entra ID, and JumpCloud. These integrations required robust Java SSO solutions that involved managing authorization server connections, user record formats, and service provider configurations within their security configuration.
Pain points: Why manual SSO was a nightmare
- Fragmented authentication flows: Each IdP had its own protocol quirks, requiring custom logic for handling SAML assertions, OIDC token exchanges, and session management with varied user model structures.
- Bloated codebase: Developers had to manually parse SAML responses, validate signatures, and implement token refresh logic, resulting in over 1,200 lines of authentication code spread across different services. This complexity highlighted the need for a streamlined Java SSO solution as configuration files became a pain to maintain.
- Error-prone integrations: Minor differences in XML schema, signing algorithms, and redirect URIs led to frequent login failures and debugging nightmares. User info mismatches were common.
- Slow customer onboarding: Each enterprise integration took weeks due to repetitive user authentication testing and endpoint setup mismatches.
Looking for a broader SSO overview? Read our blueprint for SSO implementation
The Scalekit solution
If LedgerStack swtiched to Scalekit, it could eliminate 1,200+ lines of complex authentication code and replace it with a few simple API calls. The benefits could be immediate:
- Drastically reduced codebase, freeing developers from maintaining low-level SAML/OIDC logic
- Simplified authorization server and resource server management
- Enterprise customers onboarded in hours instead of weeks, thanks to Scalekit’s prebuilt IdP connectors
- Reliable user authentication flows, with built-in error handling, session management, and compliance with security best practices
- Simplified mapping of user info to their internal user model
Before and after Scalekit
Before using Scalekit (Manual SSO with SAML):
- Multiple configuration files for each IdP
- Frequent SAML errors with little observability
After using Scalekit:
After implementation:
- Centralized authentication management using a unified service provider
- Simple OAuth2 configuration
- Reduced maintenance overhead and better user management
How Scalekit simplifies Java SSO
Scalekit eliminates the complexity of implementing SSO in Java by providing an intuitive SDK that abstracts away the intricacies of authentication protocols like SAML and OIDC. Whether you're building with Spring Boot, Spark, or Micronaut, Scalekit handles authentication flows across both the authorization server and resource server, ensuring smooth communication between systems.
It also streamlines security configuration, reducing boilerplate and automatically generating secure endpoints for login and callback routes.
We use ScaleKit for enterprise SSO, and as a small team, it has been a game-changer for us. Integrating with each SSO provider individually is complex and time-consuming, and managing IT teams across different businesses adds another layer of difficulty. ScaleKit simplifies this by providing a centralized platform where we can handle all SSO requirements efficiently. This not only saves us significant development time but also ensures a seamless authentication experience for our users across multiple organizations.
— Review on G2
Key benefits of using Scalekit for SSO
Unified SDK for SAML and OIDC
With Scalekit’s Java SDK, you don’t need separate implementations for different authentication protocols. When you implement SSO in Java, it can be complex, but Scalekit simplifies the process. It supports both SAML and OpenID Connect (OIDC) out of the box, seamlessly managing token exchanges, assertion parsing, and error handling.
No protocol internals or assertion parsing
Instead of dealing with cryptic SAML assertions or JWT claims manually, Scalekit abstracts these tasks using its SDK. You simply get a clean user identity object, eliminating the need to write complex XML parsing code.
End-to-end SSO flow with Scalekit
Here’s how the full authentication flow works using Spring Boot and Scalekit:
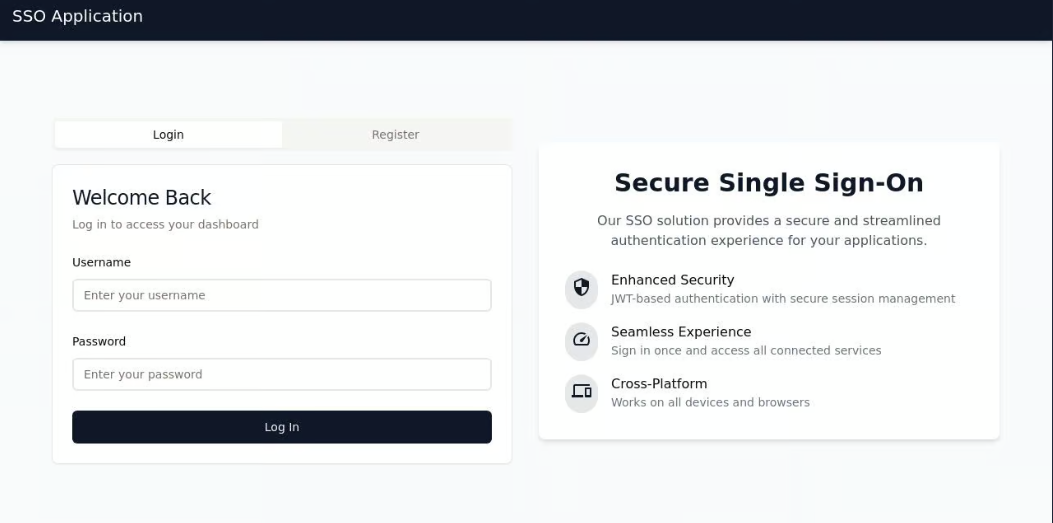
- User clicks “Login with SSO”
- Your client application uses Scalekit’s SDK to generate an authorization URL
- User is redirected to their assigned Identity Provider (e.g., Okta, Entra ID)
- After login, the IdP redirects back to your app with an authorization code via a secure endpoint
- Your app exchanges the code for user identity details via the SDK
- You establish a session using a secure cookie or Spring’s session manager
This entire process ensures user authentication remains centralized and standardized.
Setting up an SSO authentication server with Spring Security
This section will guide you through integrating Scalekit with Spring Boot to build a secure SSO authentication server. We’ll focus on backend logic, Scalekit configuration, and session management. You’ll set up both the authorization server and the resource server, define protected endpoints, and manage sessions within your security configuration.
Prerequisites
Ensure you have the following:
- Java 17+
- Spring Boot 3+
- OAuth 2.0 Identity Provider (e.g., Okta, Auth0, or a custom IdP)
- Spring Security dependencies
- Scalekit SDK
Install the SDK
Configuring Scalekit for SSO
Before integrating Scalekit into your Spring Boot application, you need to configure it with your Identity Provider (IdP). Follow these steps:
1. Set up a Scalekit account
- Sign up at the Scalekit Dashboard
- Create a new SSO connection and select your IdP (Okta, OneLogin, Entra ID, JumpCloud, etc.)
- Obtain the Client ID, Client Secret, and Scalekit Environment URL from the dashboard
2. Add Scalekit environment variables
In your application.properties or environment file, add the credentials:
3. Configure your Identity Provider (IdP)
Register your Spring Boot application’s redirect URI in the IdP dashboard. Example: https://your-app.com/callback
Ensure SAML or OIDC settings in the IdP match Scalekit’s requirements.
Add Scalekit to your project using Maven:
Or with Gradle:
Set environment variables
Configure Scalekit using environment variables:
Initialize Scalekit client
Initialize the Scalekit client in your Spring Boot application:
Generate the authorization URL
Create a secure authorization URL to redirect users to the IdP for authentication:
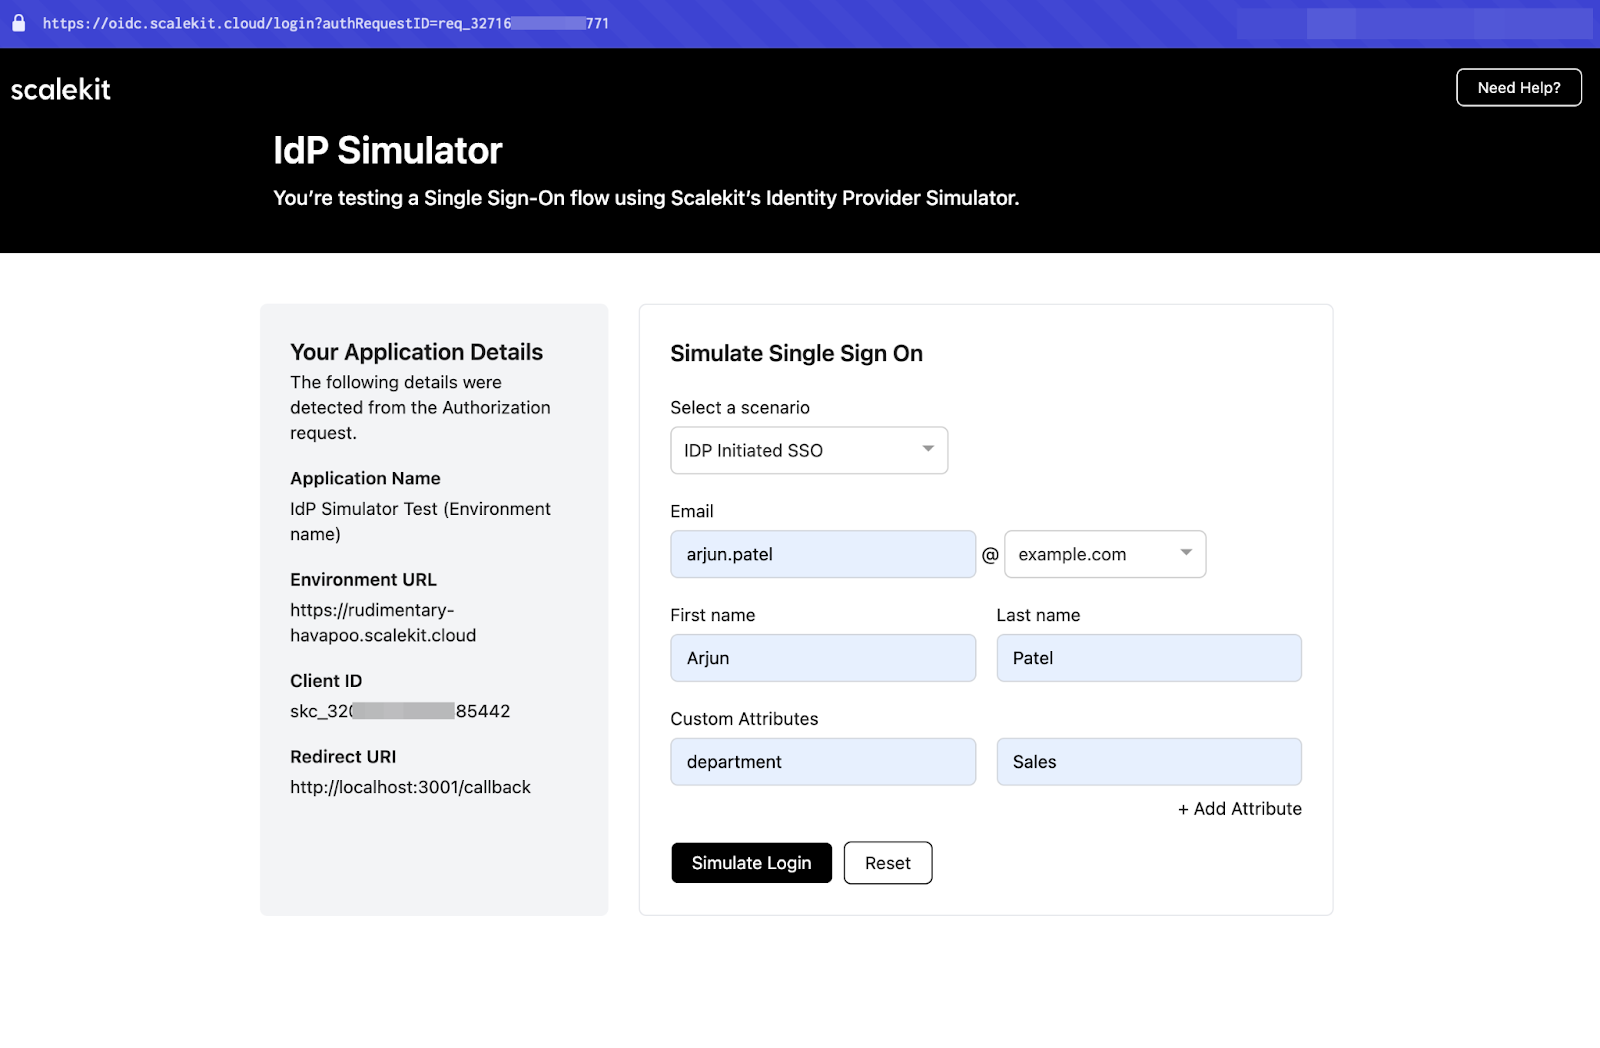
Test with IdP Simulator
For testing without a real IdP, Scalekit provides an IdP Simulator.
- Use a test domain like user@example.org to simulate login flows
- Validate various login scenarios without setting up actual IdPs
🚪 Run with real IdPs:
- Replace connection ID and credentials with production config
- Redirect users to their enterprise IdP with one line of code
Managing sessions in Java apps
After the user authenticates, you’ll receive an ID token. To manage the session securely, follow these steps:
1. Create a secure cookie
2. Use Spring’s session manager
Alternatively, use Spring Boot’s session management for enhanced control:
Best practices for secure Java SSO
To ensure a secure and robust SSO implementation, follow these best practices:
- Enforce HTTPS: Always use HTTPS for login and callback endpoints to prevent data interception
- Rotate API secrets: Regularly rotate your Scalekit API keys and client secrets to minimize security risks
- Enable MFA: Configure Multi-Factor Authentication (MFA) on the IdP side for additional security
- Log authentication events: Capture detailed logs of all authentication attempts using Scalekit’s logging features and Spring Boot’s logging framework. Log authorization server and resource server authentication events.
- Validate callback parameters: Ensure all callback parameters (code, state, etc.) are properly validated to prevent CSRF and authorization code attacks
- Use meaningful default values in your configuration files and ensure consistency across environments
- Review URL patterns and ensure consistency between your app and the service provider
- Keep your security configuration modular and environment-specific to avoid exposure risks
Wrapping up
Scalekit transforms weeks of manual SAML parsing and error-prone XML management into a simple, reliable SDK integration for Java Spring SSO. With built-in support for major IdPs, you get unified user authentication and secure coordination between your resource server and authorization server.
Whether you’re working with Spring Boot, Tomcat, or a custom Java HTTP server, Scalekit reduces complex security setup into minimal configuration, helping your client application scale faster and safer.
- Start locally: Test using Scalekit’s IdP Simulator
- Connect real IdPs: Configure actual providers through the dashboard
- Go live: Deploy with enterprise-grade authentication security using Java Spring SSO
FAQs
Can I use Scalekit SSO in any Java framework, or is it limited to Spring Boot?
Scalekit’s Java SDK is compatible with any Java backend, including Spring Boot, Micronaut, Spark, or even a custom HTTP server. It easily integrates into standard authentication pipelines.
How does Scalekit reduce the lines of code needed for SAML or OIDC?
Scalekit handles protocol intricacies, eliminating the need for custom XML parsers or SAML assertion management. You only need a few function calls to manage authentication and authorization requests.
How do I handle secure sessions after login in a Spring Boot app?
After successful authentication, store the idToken (a JWT containing user claims) in a HttpOnly and Secure cookie. Avoid storing tokens in localStorage. Extract claims like email and user ID from the token and manage sessions using Spring Security or a session manager.
Want to add enterprise‑grade SSO to your Spring Boot app without wrangling dozens of SAML/OIDC configurations? Sign up for a free Scalekit account to remove 1,200+ lines of boilerplate and onboard customers in hours instead of weeks via our prebuilt IdP connectors . Need help optimizing your Java SSO flows? Book time with our auth experts for personalized guidance.


